I make salted butterscotch pie when I want a dessert that feels rich, cozy, and deeply homemade. It has that soft caramel-like flavor that comes from brown sugar and butter, with just enough salt to keep every bite balanced and smooth.
This pie feels like the kind of dessert that belongs on a family table after Sunday dinner or during the holidays. The filling is creamy and silky, the crust gives it structure, and the salty-sweet flavor makes it feel special without being hard to enjoy.

Why You’ll Love This Recipe
Salted butterscotch pie is sweet, creamy, and comforting with a deep brown sugar flavor. The filling tastes buttery and smooth, while the pinch of salt keeps it from feeling too sweet.
It is also a lovely make-ahead dessert for families because it needs time to chill before serving. That means you can prepare it earlier in the day or the night before, then slice it when everyone is ready for dessert.
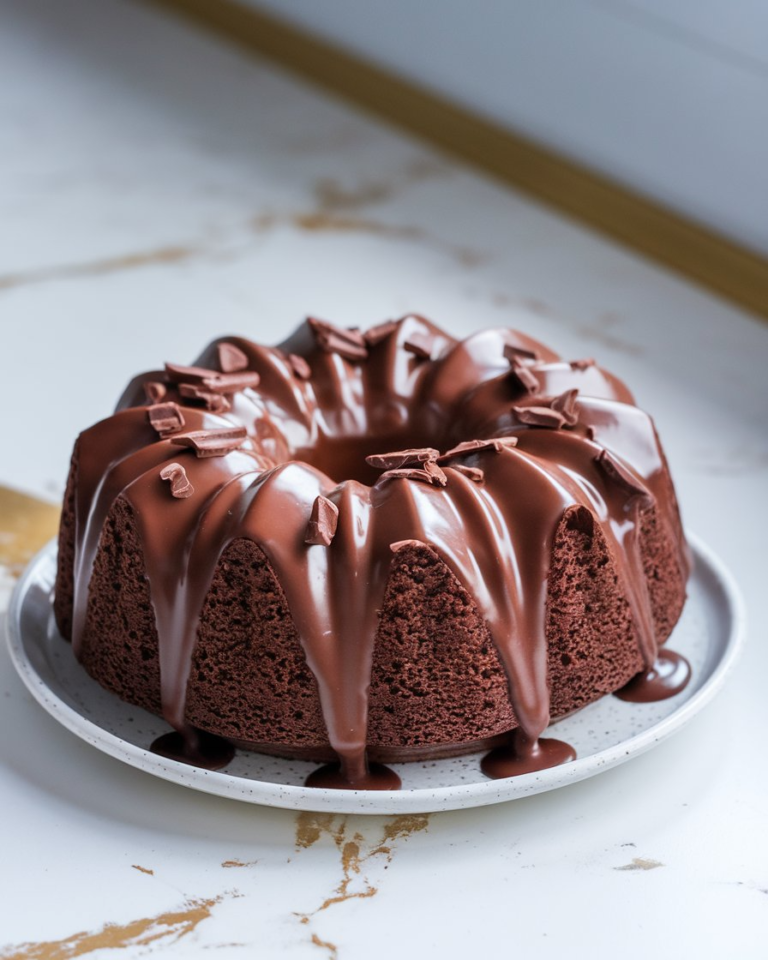
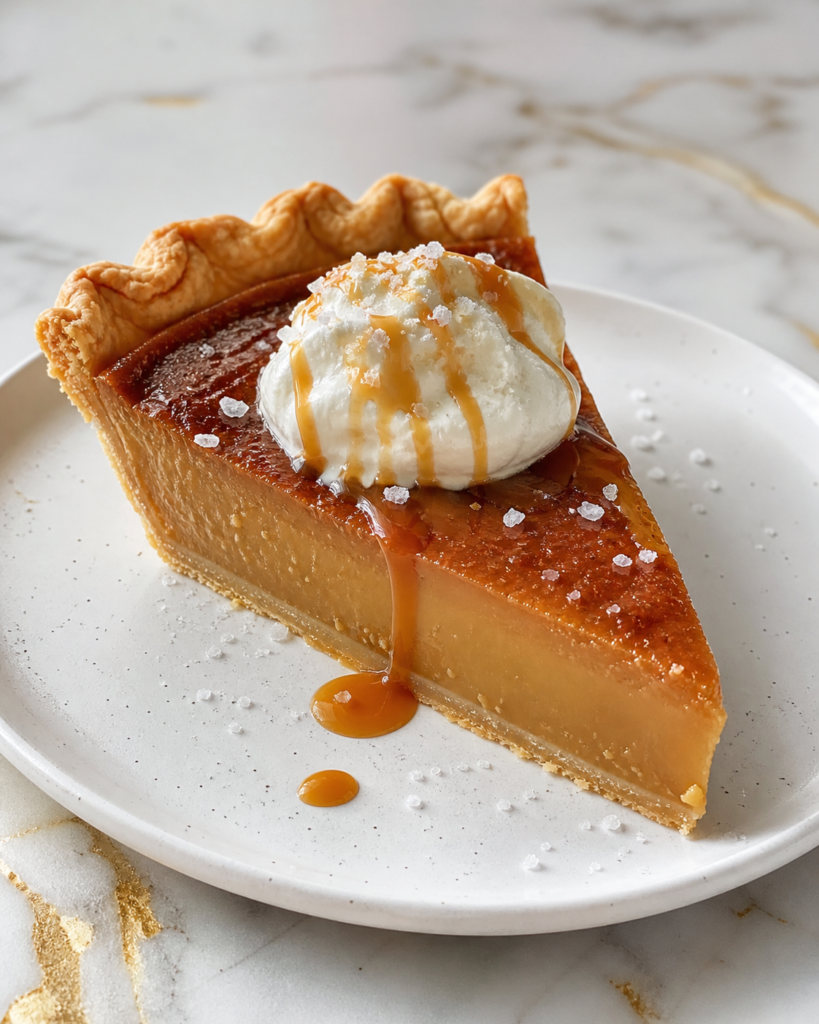
This pie is flexible enough for holidays, birthdays, potlucks, or a simple weekend treat. You can serve it plain, add whipped cream, sprinkle flaky salt on top, or dress it up with chocolate curls or toasted nuts.
Serves: 8 people
This recipe makes one 9-inch pie, which serves about 8 people. The filling is rich and creamy, so modest slices feel satisfying, especially when served with whipped cream or a cup of coffee.
Ingredients You’ll Need
For the Pie Crust
- 1 9-inch pie crust, homemade or store-bought
- 1 tablespoon all-purpose flour, for dusting if rolling homemade dough
- 1 egg white, lightly beaten, optional for brushing the crust
For the Butterscotch Filling
- 3/4 cup packed dark brown sugar
- 1/4 cup granulated sugar
- 1/4 cup cornstarch
- 1/2 teaspoon fine sea salt
- 2 1/2 cups whole milk
- 1/2 cup heavy cream
- 4 large egg yolks
- 4 tablespoons unsalted butter, cut into pieces
- 2 teaspoons vanilla extract
- 1 tablespoon bourbon, optional
For the Salted Topping
- 1 cup heavy whipping cream
- 2 tablespoons powdered sugar
- 1/2 teaspoon vanilla extract
- 1/4 teaspoon flaky sea salt, plus more to taste
- 2 tablespoons butterscotch chips, chopped, optional
- 2 tablespoons toasted pecans, chopped, optional
Pro Tips
Use dark brown sugar for the deepest butterscotch flavor. Light brown sugar will still work, but the filling will taste milder and less caramel-like.
Whisk the cornstarch very well with the sugars and salt before adding liquid. This helps prevent lumps and makes the filling cook into a smooth custard.
Temper the egg yolks slowly so they do not scramble. Add the hot milk mixture a little at a time while whisking, then return everything to the pot.
Cook the filling until it thickens and bubbles gently. The cornstarch needs enough heat to fully activate, or the pie may not set well after chilling.
Strain the filling if you want the smoothest texture. Even a well-cooked custard can have tiny bits of cooked egg, and straining gives the pie a silkier finish.
Let the pie chill fully before slicing. A few hours in the refrigerator helps the filling firm up so each slice holds its shape.
Tools You’ll Need
- 9-inch pie dish
- Rolling pin, if using homemade pie dough
- Fork or pie weights for blind baking
- Parchment paper
- Baking sheet
- Medium saucepan
- Mixing bowls
- Whisk
- Measuring cups
- Measuring spoons
- Fine mesh strainer
- Rubber spatula
- Electric hand mixer or stand mixer
- Offset spatula or spoon
- Sharp knife for slicing pie
- Cooling rack
Substitutions and Variations
Use a Graham Cracker Crust
A graham cracker crust works well if you want a sweeter, crumbly base instead of a traditional pastry crust. It gives the pie a softer, cookie-like flavor that pairs nicely with the creamy butterscotch filling.
Make It Extra Salty-Sweet
Add a slightly larger pinch of flaky sea salt on top before serving. This makes the brown sugar and butter flavor stand out even more without changing the filling.
Add a Chocolate Layer
Spread a thin layer of melted chocolate over the baked crust before adding the filling. Let the chocolate set first, and it will add a rich contrast to the butterscotch.
Try a Nutty Finish
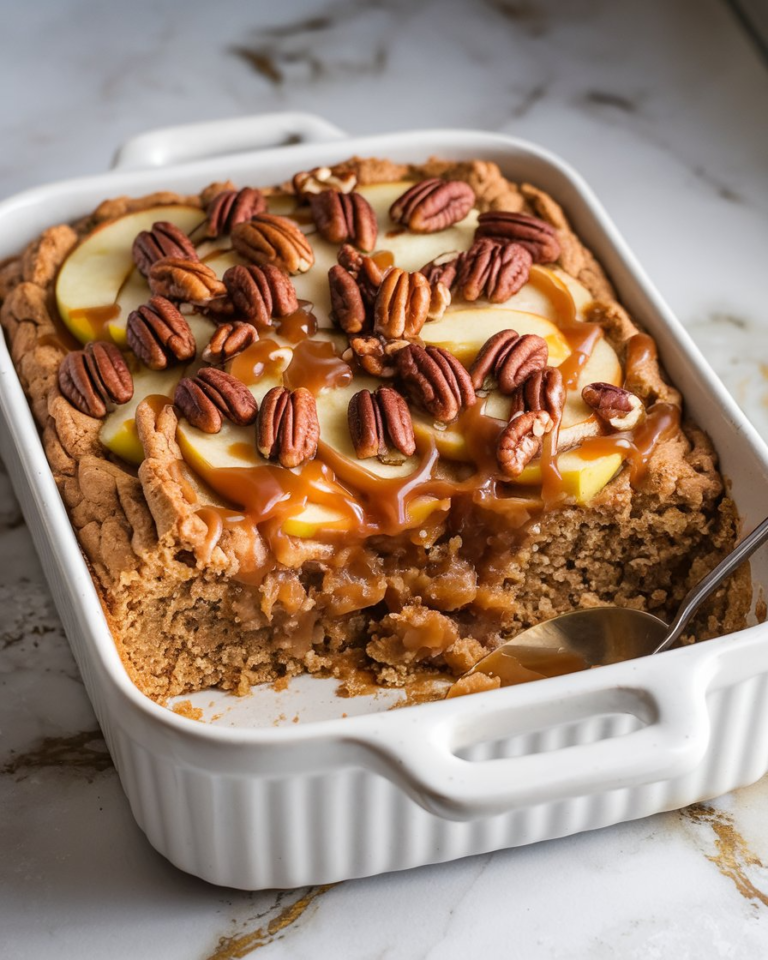
Top the pie with toasted pecans, walnuts, or almonds for crunch. The nuts help balance the creamy filling and make each slice feel a little more special.
Skip the Bourbon
Leave out the bourbon for a family-friendly version. The pie will still have plenty of flavor from the brown sugar, butter, vanilla, cream, and salt.
Make Ahead Tips
Salted butterscotch pie is a wonderful make-ahead dessert because it needs time to chill before slicing. You can bake the pie crust 1 day ahead, let it cool completely, and keep it loosely covered at room temperature. This makes the filling step feel much easier when you are preparing dessert for a family meal or holiday table.
The butterscotch filling can also be made and poured into the crust the day before serving. Cover the chilled pie gently with plastic wrap or a pie lid, being careful not to press into the surface. Add the whipped cream topping close to serving time so it stays fluffy and fresh.
If you want to get even further ahead, measure the dry filling ingredients into a bowl and separate the egg yolks ahead of time. Keep the yolks covered in the refrigerator until ready to use. A little prep makes the cooking process smoother, especially since custard needs steady whisking.
Instructions
Step 1: Prepare the Pie Crust
Preheat the oven to 375°F. Place the 9-inch pie crust in a pie dish, trim the edges, and crimp them as desired.
Line the crust with parchment paper and fill it with pie weights or dried beans. Bake for 15 minutes, then remove the parchment and weights.
Step 2: Finish Blind Baking the Crust
Prick the bottom of the crust gently with a fork. Return it to the oven and bake for 10 to 12 more minutes, or until the crust looks golden and fully baked.
If using the lightly beaten egg white, brush it over the hot crust as soon as it comes out of the oven. This helps create a light barrier so the creamy filling does not soften the crust too much.
Step 3: Mix the Dry Filling Ingredients
In a medium saucepan, whisk together 3/4 cup packed dark brown sugar, 1/4 cup granulated sugar, 1/4 cup cornstarch, and 1/2 teaspoon fine sea salt. Break up any brown sugar clumps with the whisk or your fingers.
This step helps the cornstarch spread evenly before the liquid is added. It also lowers the chance of lumps forming once the filling begins to heat.
Step 4: Add the Milk and Cream
Slowly whisk in 2 1/2 cups whole milk and 1/2 cup heavy cream. Keep whisking until the mixture looks smooth and the dry ingredients are fully dissolved.
Place the saucepan over medium heat. Cook the mixture, whisking often, until it becomes hot and starts to steam.
Step 5: Temper the Egg Yolks
Place 4 large egg yolks in a heat-safe mixing bowl and whisk them until smooth. Slowly ladle about 1 cup of the hot milk mixture into the yolks, whisking the whole time.
Add the warm yolk mixture back into the saucepan slowly while whisking. This gentle process keeps the eggs from scrambling and helps create a smooth custard.
Step 6: Cook the Butterscotch Filling
Continue cooking the filling over medium heat, whisking constantly. After a few minutes, it will thicken and begin to bubble gently.
Once it bubbles, cook for 1 full minute while whisking. This helps the cornstarch fully thicken the filling so the pie sets properly after chilling.
Step 7: Add Butter and Flavoring
Remove the saucepan from the heat. Whisk in 4 tablespoons unsalted butter, 2 teaspoons vanilla extract, and 1 tablespoon bourbon if using.
The filling should look glossy, thick, and smooth. If you see any small lumps, do not worry, because the next step will help make it silkier.
Step 8: Strain and Fill the Crust
Pour the warm filling through a fine mesh strainer into a clean bowl or directly into the baked pie crust. Use a rubber spatula to gently press it through if needed.
Smooth the top with a spatula. Let the pie cool at room temperature for about 30 minutes before moving it to the refrigerator.
Step 9: Chill the Pie
Refrigerate the pie for at least 4 hours, or until the filling is fully set. Overnight chilling works very well and gives the pie clean slices.
Cover the pie once it is cool enough that steam will not collect under the covering. This helps prevent extra moisture from forming on the surface.
Step 10: Make the Whipped Cream
When ready to serve, add 1 cup heavy whipping cream, 2 tablespoons powdered sugar, and 1/2 teaspoon vanilla extract to a mixing bowl. Beat with an electric hand mixer or stand mixer until soft peaks form.
The whipped cream should be fluffy and spreadable, not stiff or grainy. Stop mixing as soon as it holds its shape gently.
Step 11: Add the Salted Topping
Spread or dollop the whipped cream over the chilled pie. Sprinkle with 1/4 teaspoon flaky sea salt, adding a little more to taste if your family enjoys a stronger salted flavor.
Top with 2 tablespoons chopped butterscotch chips or 2 tablespoons toasted pecans if desired. These add texture and make the pie look finished without much effort.
Step 12: Slice and Serve
Use a sharp knife to slice the chilled pie. Wipe the knife between cuts for neater slices.
Serve the pie cold, straight from the refrigerator. The filling should be creamy, silky, and firm enough to hold its shape on the plate.
Serving Suggestions
Salted butterscotch pie is lovely served chilled with a soft cloud of whipped cream on top. The cool filling and fluffy topping make each slice feel smooth and comforting.
A hot cup of coffee or black tea pairs nicely with the rich brown sugar flavor. The slight bitterness of the drink balances the sweetness of the pie.
For a holiday dessert table, serve the pie with toasted pecans or chocolate curls. These simple toppings add texture and make the pie feel a little more dressed up.
Fresh sliced bananas also pair well with butterscotch. You can add a few slices beside each serving for a soft, sweet fruit touch.
If you are serving kids, keep the flaky salt light on their slices. Adults can add a little extra at the table for a stronger salty-sweet bite.
This pie also works well after a simple dinner because it feels special without needing extra sauces. A small slice is satisfying, especially after a cozy family meal.
Leftovers and Storage
Store leftover salted butterscotch pie covered in the refrigerator for up to 4 days. Keep it in a pie container or loosely tent it with plastic wrap so the whipped cream topping does not get pressed down. The crust will soften slightly over time, but the filling will stay creamy and flavorful.
For the cleanest leftovers, store the pie without whipped cream if you know you will not serve it all at once. Add fresh whipped cream to each slice as needed. This keeps the topping light and prevents moisture from settling on the pie.
Freezing is not the best choice for this pie because custard fillings can become watery or grainy after thawing. If you do freeze it, wrap slices tightly and thaw them slowly in the refrigerator. The texture may be softer, but the flavor should still be pleasant.
Nutrition and Benefits
- Rich homemade dessert: This pie is a sweet, comforting treat made with simple baking staples. It is best enjoyed in modest slices because the filling is creamy and satisfying.
- Egg yolk custard base: Egg yolks help give the filling body and a smooth texture. They also add richness that makes the pie feel special.
- Balanced salty-sweet flavor: Fine sea salt in the filling and flaky salt on top help balance the brown sugar sweetness. This keeps the pie from tasting flat or overly sweet.
- Make-ahead friendly: The pie needs chilling time, which makes it useful for holidays and family meals. You can prepare it before guests arrive and add the topping right before serving.
- Comforting texture: The crisp crust, silky filling, and whipped topping create a soft but satisfying dessert. Each layer adds something different without making the recipe too complicated.
Recipe FAQ
Can I use light brown sugar instead of dark brown sugar?
Yes, light brown sugar works if that is what you have. The filling will taste a little milder because dark brown sugar has more molasses flavor. For the deepest butterscotch taste, dark brown sugar is the better choice.
Why did my filling turn lumpy?
Lumps can happen if the cornstarch is not whisked well or if the eggs heat too quickly. Temper the egg yolks slowly and whisk constantly as the filling cooks. Straining the filling before pouring it into the crust helps make it smooth again.
How long does the pie need to chill?
The pie needs at least 4 hours in the refrigerator to set properly. Overnight chilling gives the cleanest slices and the firmest texture. Do not rush this step, because warm custard will not hold its shape.
Can I make this pie without bourbon?
Yes, the bourbon is completely optional. You can leave it out and still have a rich butterscotch flavor from the brown sugar, butter, vanilla, and cream. This is the best choice if you are serving the pie to children.
Can I use a store-bought crust?
Yes, a store-bought pie crust works well and saves time. Blind bake it fully before adding the filling so it stays crisp enough to support the custard. Follow the package directions if they differ slightly from this recipe.
Why is my pie not setting?
The filling may not have cooked long enough after it started bubbling. Cornstarch needs to boil gently for about 1 full minute to thicken properly. The pie also needs enough chilling time before slicing.
Can I make this pie ahead for Thanksgiving or Christmas?
Yes, this pie is a great make-ahead dessert for holidays. Make the crust and filling the day before, then chill the pie overnight. Add whipped cream, flaky salt, and any toppings shortly before serving.
A Silky Sweet Pie for Sharing
Salted butterscotch pie is the kind of dessert that feels calm, cozy, and special without being difficult to make. The buttery brown sugar filling, crisp crust, soft whipped cream, and gentle salt come together in a way that tastes rich but still balanced.
I love serving this pie when a meal needs a dependable homemade ending. It chills beautifully, slices cleanly, and brings that comforting salty-sweet flavor families tend to remember, making it worth baking again for holidays, weekends, or simple dinners at home.