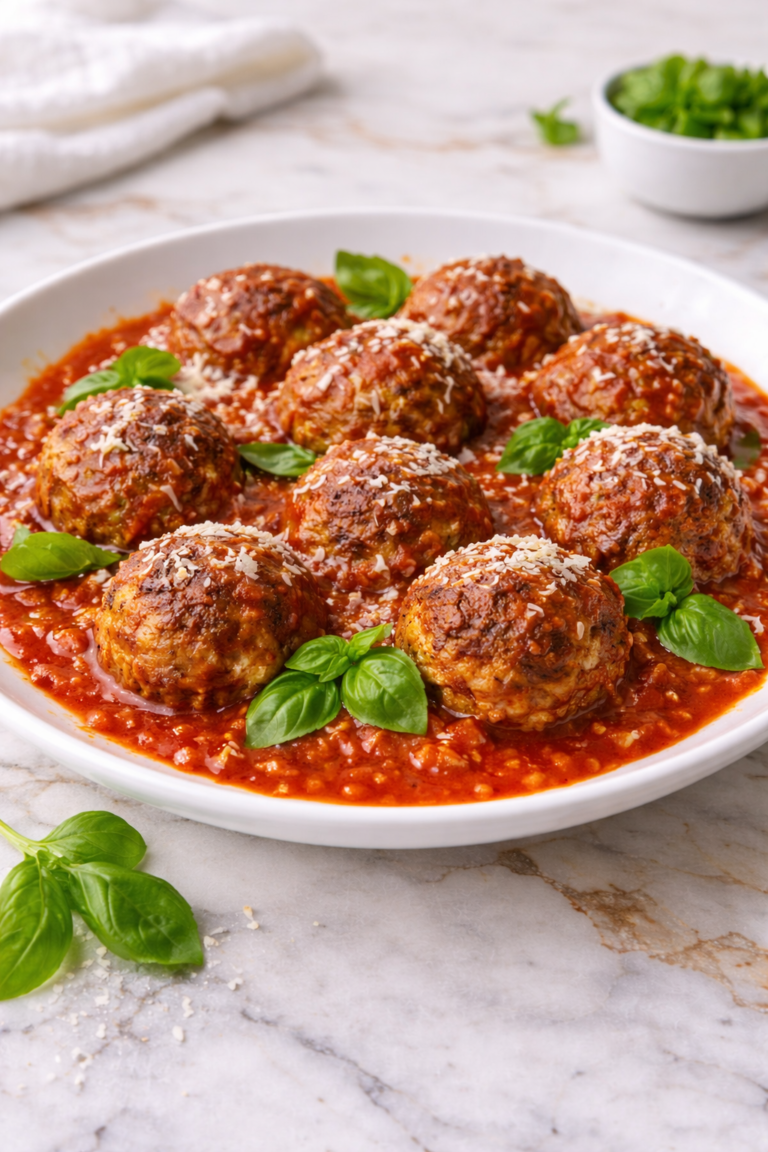
If you’ve ever ordered mac and cheese at Texas Roadhouse, you know it’s not your average side dish. It’s creamy, rich, and has that deep cheesy flavor that’s hard to find in a boxed version.
A lot of homemade mac and cheese recipes miss that smooth, velvety texture that makes it so good. I tested this in my own kitchen until I got it just right.
This post walks you through every step so yours comes out creamy and full of flavor every single time.

Why You’ll Love This Recipe
This mac and cheese is incredibly creamy and full of rich, cheesy flavor. The sauce coats every piece of pasta, creating a smooth and satisfying texture. It’s the kind of dish that feels indulgent in the best way.
Another reason to love this recipe is how easy it is to make. With simple ingredients and straightforward steps, you can have it ready in no time. It’s perfect for both beginners and experienced cooks.
Families love this recipe because it’s comforting and versatile. It pairs well with a variety of main dishes and can be customized with different cheeses or add-ins. It’s a dependable favorite that everyone enjoys.
Serves: 4–6 people
This recipe makes enough for four to six servings, depending on portion size. It’s perfect for family meals or small gatherings. You can easily double it for larger groups.
Ingredients You’ll Need
- 2 cups elbow macaroni
- 2 tablespoons unsalted butter
- 2 tablespoons all-purpose flour
- 2 cups whole milk (warmed)
- 1 cup heavy cream
- 2 cups shredded cheddar cheese
- ½ cup shredded Monterey Jack cheese
- ¼ cup grated Parmesan cheese
- ½ teaspoon kosher salt (or to taste)
- ¼ teaspoon freshly ground black pepper
Pro Tips
Cook the pasta just until al dente. This prevents it from becoming too soft when mixed with the sauce.
Warm the milk before adding it to the sauce. This helps create a smoother texture.
Use freshly shredded cheese for the best melting and flavor. Pre-shredded cheese may not melt as well.
Stir the sauce continuously to prevent lumps. This keeps it smooth and creamy.
Do not overheat the cheese sauce, as it can become grainy. Keep the heat moderate.
Taste and adjust seasoning before serving. Proper seasoning enhances the dish.
Tools You’ll Need
- Large pot
- Saucepan
- Whisk
- Spoon or spatula
- Colander
- Measuring cups and spoons
Substitutions and Variations
You can use different pasta shapes like shells or penne. Each holds the sauce slightly differently.
For a lighter version, use half-and-half instead of heavy cream. This reduces richness.
Add cooked bacon or ham for extra flavor. This makes it more filling.
You can include vegetables like broccoli or peas. This adds color and nutrition.
For a spicier version, add a pinch of cayenne pepper or hot sauce. This gives a slight kick.

Make Ahead Tips
This mac and cheese can be prepared ahead of time, making it perfect for busy days or planned meals. You can cook the pasta and prepare the cheese sauce separately, then combine them just before serving. This helps maintain the best texture.
If you want to fully assemble the dish ahead, store it in an airtight container in the refrigerator for up to 2 days. When reheating, add a splash of milk or cream to bring back the creamy consistency. This keeps the sauce smooth and rich.
For gatherings, you can prepare the mac and cheese and transfer it to a baking dish. Reheat it in the oven before serving for a warm, fresh finish. This makes serving easy and convenient.
Instructions
Step 1: Cook the Pasta
Bring a large pot of salted water to a boil. Add the elbow macaroni and cook according to package instructions until al dente. Drain and set aside.
Step 2: Make the Roux
In a saucepan over medium heat, melt the butter. Add the flour and whisk continuously for about 1–2 minutes. This creates a smooth base for the sauce.
Step 3: Add Milk and Cream
Slowly pour in the warmed milk and heavy cream while whisking. Continue stirring until the mixture thickens. This should take a few minutes.
Step 4: Add the Cheese
Reduce the heat to low and gradually add the shredded cheddar, Monterey Jack, and Parmesan cheese. Stir until fully melted and smooth. Avoid overheating.
Step 5: Season the Sauce
Add salt and black pepper to the cheese sauce. Stir well and taste to adjust seasoning. This step enhances the flavor.
Step 6: Combine Pasta and Sauce
Add the cooked pasta to the cheese sauce. Stir gently to coat the pasta evenly. Make sure every piece is covered.
Step 7: Adjust Consistency
If the sauce is too thick, add a small amount of milk to loosen it. Stir until you reach your desired consistency. This keeps it creamy.
Step 8: Serve Warm
Remove from heat and serve immediately. The mac and cheese is best enjoyed fresh and warm. Garnish if desired.
Serving Suggestions
This mac and cheese pairs perfectly with grilled meats like steak or chicken. The creamy texture complements savory dishes. It creates a balanced meal.
Serve it alongside barbecue dishes for a classic comfort combination. The rich cheese sauce works well with smoky flavors. It’s a crowd favorite.
You can also serve it with roasted vegetables. This adds color and balance to the plate. It makes the meal more complete.
For a casual meal, enjoy it on its own as a main dish. It’s filling and satisfying. Add toppings for variety.
If serving for a gathering, place it in a large dish and keep it warm. This makes it easy for guests to serve themselves. It’s perfect for sharing.
For extra flavor, sprinkle additional cheese or herbs on top before serving. This enhances presentation. It adds a finishing touch.
Leftovers and Storage
Store leftover mac and cheese in an airtight container in the refrigerator for up to 3–4 days. Allow it to cool completely before storing. Proper storage helps maintain quality.
When reheating, add a splash of milk or cream to restore the creamy texture. Heat gently on the stovetop or in the microwave. Stir occasionally for even heating.
Avoid overheating, as this can cause the sauce to separate. Gentle reheating works best. Keep an eye on consistency.
You can freeze mac and cheese for up to 2 months, though the texture may change slightly. Store it in a freezer-safe container. Thaw in the refrigerator before reheating.
Stir well after reheating to bring the sauce back together. Add extra liquid if needed. This helps improve texture.
If the dish develops an off smell or texture, discard it. Always prioritize food safety. Proper handling is important.
Nutrition and Benefits
- This dish provides carbohydrates from pasta, giving you energy. It’s a filling and satisfying option.
- Cheese adds calcium and protein, supporting bone health and muscle function. It also contributes to the creamy texture.
- Making mac and cheese at home allows you to control ingredients and portion sizes. This helps create a balanced meal.
- You can adjust the richness by using lighter dairy options. Small changes can improve nutrition.
- Adding vegetables can increase fiber and nutrients. This makes the dish more balanced.
Recipe FAQ
Why is my cheese sauce grainy?
This usually happens if the cheese is overheated. Keep the heat low when adding cheese. Stir gently for best results.
Can I use pre-shredded cheese?
You can, but freshly shredded cheese melts better. Pre-shredded cheese contains additives. This can affect texture.
How do I make it extra creamy?
Add more cream or cheese to the sauce. Warm liquids also help. Adjust to your preference.
Can I bake this mac and cheese?
Yes, you can transfer it to a baking dish and bake at 350°F until bubbly. This adds a slightly different texture. It’s a great variation.
Can I make this ahead of time?
Yes, prepare it in advance and reheat before serving. Add milk when reheating. This keeps it creamy.
What pasta works best?
Elbow macaroni is classic, but shells or penne also work well. Choose based on preference. Each holds sauce differently.
Can I add protein?
Yes, cooked chicken, bacon, or ham can be added. This makes it more filling. It’s easy to customize.
A Creamy Classic Everyone Will Love
Once you make this at home, the boxed stuff just won’t cut it anymore. The sauce is smooth, the cheese flavor is rich, and it comes together faster than you’d think.
I love making this as a side for weeknight dinners, but honestly it’s filling enough to stand on its own. It’s one of those comfort food recipes that everyone at the table always goes back for seconds on.
Simple ingredients, easy steps, and a result that feels way more special than the effort it takes. I hope it becomes a regular in your kitchen just like it has in mine.