The Asiago Cheese Bagel from Panera is one of those bakery items that’s hard to walk past without grabbing one.
That golden, cheesy crust on the outside with a soft, chewy inside makes it stand out from every other bagel on the shelf. Most people assume making a bagel this good at home is too much work to bother with.
I took on the challenge in my own kitchen and was genuinely surprised by how achievable it really is. This post walks you through every step so yours comes out with that same savory, cheesy flavor and perfect chewy texture.

Why You’ll Love This Recipe
This Panera Asiago Cheese Bagel recipe brings together everything you love about bakery bagels with the satisfaction of homemade baking. The outside is beautifully golden with a layer of melted, slightly crisp Asiago cheese, while the inside stays soft and chewy. Each bite delivers a rich, savory flavor that feels both hearty and comforting.
Another reason this recipe stands out is how rewarding the process is, even for beginner bakers. While bagels do take a bit of time, the steps are simple and easy to follow. Once you try them fresh from the oven, you’ll understand why making them at home is worth every minute.
Serves: 8 people
This recipe makes eight standard-sized bagels, perfect for a family breakfast or meal prep for the week. You can easily double the batch if you want to freeze extras for later. The bagels also hold up well for a few days, making them a practical option.
Ingredients You’ll Need
For the Dough:
- 4 cups bread flour
- 1 1/2 cups warm water (about 110°F)
- 2 1/4 tsp active dry yeast (1 packet)
- 1 tbsp granulated sugar
- 2 tsp salt
For Boiling:
- 8 cups water
- 2 tbsp brown sugar
For Topping:
- 1 1/2 cups shredded Asiago cheese
Optional Add-Ins:
- 1/2 tsp garlic powder (for extra savory flavor)
- 1/2 tsp onion powder
Pro Tips
Use bread flour instead of all-purpose flour for the best chewy texture. Bread flour has a higher protein content, which helps create that classic bagel consistency. This small detail makes a noticeable difference in the final result.
Make sure your water is warm but not too hot when activating the yeast. If the water is too hot, it can kill the yeast and prevent the dough from rising properly. Aim for a temperature that feels warm to the touch but not uncomfortable.
Knead the dough thoroughly until it becomes smooth and elastic. This step develops the gluten and gives the bagels their structure. It may take a few extra minutes, but it’s worth the effort.
Don’t skip the boiling step, as it is essential for achieving the signature bagel texture. Boiling helps set the crust and creates that slightly shiny exterior. It also helps the toppings stick better.
Be generous with the Asiago cheese on top for the best flavor. Press it lightly onto the dough so it stays in place during baking. The cheese will melt and form a delicious, golden crust.
Let the bagels cool slightly before slicing to allow the interior to set. Cutting them too soon can make them seem doughy. A little patience ensures the perfect texture.
Tools You’ll Need
- Large mixing bowl
- Measuring cups and spoons
- Wooden spoon or dough hook
- Stand mixer (optional)
- Baking sheet
- Parchment paper
- Large pot (for boiling)
- Slotted spoon
- Cooling rack
Substitutions and Variations
If you don’t have Asiago cheese, you can substitute with Parmesan or a sharp white cheddar. Each option provides a slightly different flavor but still delivers that savory, cheesy finish. It’s an easy way to adapt the recipe based on what you have.
For a slightly softer bagel, you can replace a small portion of the bread flour with all-purpose flour. This creates a more tender texture while still maintaining structure. It’s a good option if you prefer less chewiness.
You can also add flavors directly into the dough, such as garlic powder, onion powder, or even dried herbs. These additions enhance the overall taste without overpowering the cheese. It’s a simple way to customize the bagels.
For a whole grain version, substitute up to half of the flour with whole wheat flour. This adds a nuttier flavor and extra fiber. Keep in mind that the texture may be slightly denser.
If you prefer a lighter topping, you can reduce the amount of cheese or mix it with seeds like sesame or poppy seeds. This creates a different texture while still keeping the bagels flavorful.
Make Ahead Tips
Making bagels ahead of time is a great way to enjoy fresh, homemade flavor without starting from scratch every morning. You can prepare the dough the night before and let it rise slowly in the refrigerator overnight. This not only saves time but also helps develop a deeper flavor in the dough.
After shaping the bagels, you can also refrigerate them for a second rise before boiling and baking. Keep them covered so they don’t dry out, and bring them to room temperature before continuing. This method works especially well if you want to bake them fresh in the morning.
If you prefer to bake them fully ahead, the finished bagels can be stored or frozen for later use. Allow them to cool completely before storing to preserve their texture. Planning ahead makes it easy to enjoy these bagels whenever you want.
For busy families, consider making a double batch and freezing half. This way, you always have a homemade option ready to go. A quick reheat brings them back to life beautifully.
Instructions
Step 1: Activate the Yeast
In a large mixing bowl, combine warm water, sugar, and active dry yeast. Let it sit for about 5 to 10 minutes until it becomes foamy on top. This indicates that the yeast is active and ready to use.
Step 2: Make the Dough
Add bread flour and salt to the yeast mixture and stir until a rough dough forms. Knead the dough by hand or with a stand mixer for about 8 to 10 minutes until smooth and elastic. The dough should feel firm but slightly tacky to the touch.
Step 3: First Rise
Place the dough in a lightly greased bowl and cover it with a clean towel. Let it rise in a warm place for about 1 to 1.5 hours, or until it has doubled in size. This step allows the dough to develop structure and flavor.
Step 4: Shape the Bagels
Punch down the dough and divide it into eight equal portions. Roll each piece into a ball, then poke a hole through the center and gently stretch to form a bagel shape. Place the shaped bagels on a parchment-lined baking sheet.
Step 5: Prepare the Boiling Water
Bring a large pot of water to a gentle boil and stir in the brown sugar. This step helps create the classic bagel crust and slight sweetness. Keep the water at a steady simmer, not a rapid boil.
Step 6: Boil the Bagels
Carefully place the bagels into the boiling water, cooking them for about 1 minute on each side. Use a slotted spoon to flip and remove them from the water. This step is essential for achieving the chewy texture bagels are known for.
Step 7: Add Cheese Topping
Place the boiled bagels back onto the baking sheet and generously sprinkle Asiago cheese on top. Press the cheese lightly so it adheres well during baking. The cheese will melt and form a golden crust.
Step 8: Bake the Bagels
Preheat your oven to 425°F and bake the bagels for 18 to 22 minutes until golden brown. Rotate the baking sheet halfway through for even baking. The tops should be crisp with bubbling, melted cheese.
Step 9: Cool Before Serving
Remove the bagels from the oven and transfer them to a cooling rack. Let them cool for at least 10 to 15 minutes before slicing. This helps the interior set properly and prevents a doughy texture.
Serving Suggestions
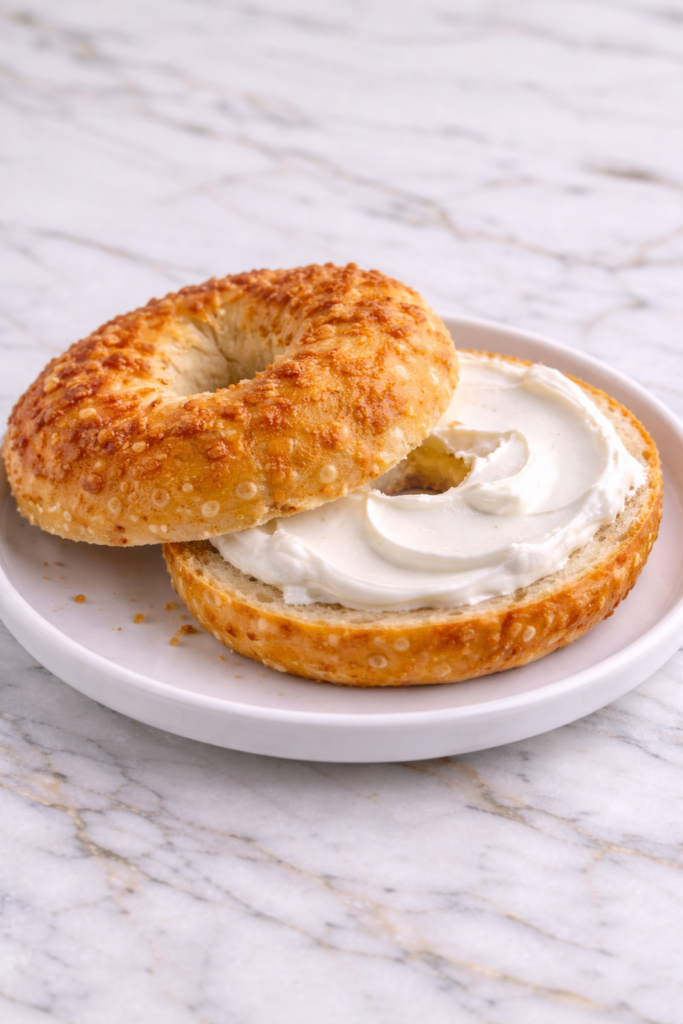
These bagels are delicious served warm with a simple spread of butter or cream cheese. The savory Asiago topping pairs beautifully with creamy textures. It’s a classic and comforting way to enjoy them.
For a heartier option, turn them into breakfast sandwiches with eggs and crispy bacon. The cheesy crust adds an extra layer of flavor that elevates the entire sandwich. This makes for a satisfying start to the day.
They also work well as a base for lunch sandwiches filled with turkey, chicken, or fresh vegetables. The sturdy texture holds up to a variety of fillings without becoming soggy. It’s a great alternative to regular sandwich bread.
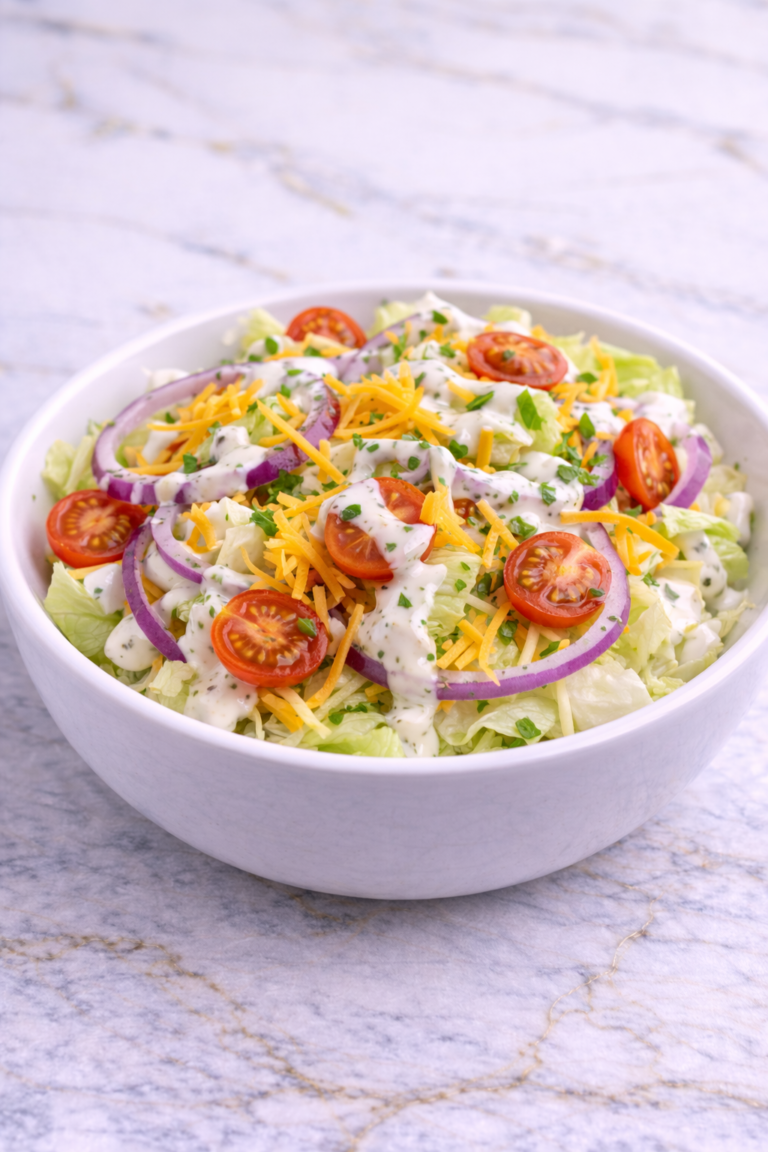
You can serve them alongside soups or salads for a complete meal. The richness of the bagel balances lighter dishes nicely. This pairing works especially well for cozy lunches or dinners.
For kids, keep it simple with sliced bagels and mild spreads. The cheesy topping is often a hit on its own. Cutting them into halves or quarters makes them easy to handle and enjoy.
Leftovers and Storage
Store leftover bagels in an airtight container at room temperature for up to two days. Keeping them sealed helps maintain their softness and prevents them from drying out. For best results, avoid refrigerating as it can make them stale faster.
If you need to store them longer, freezing is the best option. Slice the bagels before freezing so they are easy to toast later. Place them in a freezer-safe bag and store for up to three months.
To reheat, toast directly from frozen or warm in the oven at a low temperature. This helps restore their texture and brings back that fresh-baked feel. Avoid microwaving, as it can make them chewy in an unpleasant way.
If the bagels become slightly firm, a quick toast or warm-up can revive them. Adding a spread also helps bring back moisture and flavor. Proper storage ensures they stay enjoyable even after the first day.
Nutrition and Benefits
- These bagels provide a good source of carbohydrates, making them a great option for energy throughout the day. They are especially useful for busy mornings when you need something filling.
- Asiago cheese adds protein and calcium, supporting bone health and adding richness to the recipe. It also contributes to the satisfying, savory flavor.
- Making bagels at home allows you to control the ingredients and avoid unnecessary preservatives. This makes them a fresher and more wholesome choice.
- The recipe can be adapted with whole grain flour to increase fiber content. This supports digestion and adds nutritional value.
- Homemade bagels can be portioned and paired with balanced toppings for a well-rounded meal. This flexibility makes them suitable for a variety of diets.
Recipe FAQ
Can I use all-purpose flour instead of bread flour?
Yes, but the texture will be slightly softer and less chewy. Bread flour is preferred because of its higher protein content. If using all-purpose flour, the bagels will still taste great but have a different consistency.
Why do I need to boil the bagels?
Boiling is essential for creating the classic bagel texture and crust. It helps set the outer layer before baking. This step is what gives bagels their signature chewiness.
Can I make the dough without a stand mixer?
Absolutely, you can knead the dough by hand. It may take a bit more effort, but the results will be just as good. Just make sure the dough becomes smooth and elastic.
How do I know when the bagels are done baking?
The bagels should be golden brown with a firm crust and melted cheese on top. Tapping the bottom should produce a hollow sound. This indicates they are fully baked.
Can I add cheese inside the bagel?
Yes, you can incorporate small cubes or shreds of cheese into the dough. This creates a cheesy interior in addition to the topping. It’s a great variation for extra flavor.
What’s the best way to keep the cheese from falling off?
Press the cheese gently onto the bagels after boiling while they are still slightly wet. This helps it stick better during baking. Using finely shredded cheese also improves adhesion.
Can I make mini bagels instead?
Yes, simply divide the dough into smaller portions to create mini bagels. Adjust the baking time slightly to prevent overbaking. They are perfect for snacks or smaller servings.
Fresh From the Oven: A Bakery Favorite at Home
Once you pull a fresh batch of these out of the oven, the bakery run is going to feel a lot less necessary. That crispy Asiago crust and soft, chewy inside come together in a way that makes every bite feel worth the effort.
I love making these on weekend mornings when I have a little extra time and want something that feels special without going anywhere.
They taste incredible on their own and even better with a little cream cheese spread on top. Savory, satisfying, and better fresh from your own oven. I hope they become a regular part of your weekend baking routine.