I never thought much about garlic bread as a recipe worth paying close attention to until I started making it the way Dom DeLuise approached food — with generosity, real butter, and no holding back on flavor.
That crispy, golden exterior with a soft, buttery inside and bold garlic flavor running through every bite is something a store bought loaf can never quite deliver.
A lot of homemade garlic bread ends up either too greasy or too dry in a way that misses the mark completely. This recipe walks you through every detail so yours comes out perfectly crispy, deeply buttery, and full of that bold garlic flavor.

Why You’ll Love This Recipe
This Dom DeLuise inspired garlic bread is crispy on the outside, soft on the inside, and packed with bold garlic flavor. The buttery spread melts into the bread, creating a rich and satisfying bite.
It’s also incredibly easy to make with just a handful of ingredients. You can whip it up quickly, making it perfect for both weeknight dinners and special occasions.
Serves: 4–6 people
This recipe makes enough garlic bread for four to six people, depending on portion size. It’s perfect for sharing and pairs well with a variety of meals.
What You’ll Need
- 1 large loaf of Italian or French bread
- 1/2 cup unsalted butter, softened
- 3–4 cloves garlic, minced
- 2 tbsp fresh parsley, chopped
- 1/4 tsp salt
- 1/4 tsp black pepper
- 1/4 cup grated Parmesan cheese (optional)
Pro Tips
Use softened butter for easy mixing and spreading. This ensures the garlic and herbs distribute evenly. It also helps the bread absorb the flavor better.
Fresh garlic gives the best flavor, but you can adjust the amount based on your preference. If you prefer a milder taste, use fewer cloves.
Slice the bread evenly so it toasts uniformly. This helps achieve that perfect balance of crispy and soft textures.
Don’t skip the parsley—it adds a fresh, vibrant flavor that balances the richness of the butter and garlic.
For extra flavor, add a sprinkle of Parmesan cheese before baking. It creates a slightly crispy, cheesy topping.
Bake until just golden to avoid over-drying the bread. Keep an eye on it during the last few minutes.
Tools You’ll Need
- Knife
- Cutting board
- Mixing bowl
- Spoon or spatula
- Baking sheet
Substitutions and Variations
You can use whole wheat bread for a slightly healthier option. The flavor will be a bit nuttier but still delicious.
If you don’t have fresh parsley, dried parsley can be used in smaller amounts. It still adds a nice herbal note.
For a cheesy version, add shredded mozzarella along with Parmesan. This creates a gooey, indulgent topping.
You can add a pinch of red pepper flakes for a subtle kick. This enhances the overall flavor.
For a vegan version, use plant-based butter. The results are still rich and satisfying.
Make Ahead Tips
This Dom DeLuise inspired garlic bread is wonderfully easy to prepare ahead, making it perfect for busy evenings or when you’re hosting a family dinner. You can mix the garlic butter spread up to two days in advance and store it in an airtight container in the refrigerator. This actually helps the flavors meld together, giving you an even richer taste.
You can also assemble the bread ahead of time by spreading the garlic butter over the sliced loaf and wrapping it tightly in foil. Store it in the refrigerator until you’re ready to bake. This saves time and makes the process effortless when it’s time to serve.
If you want to plan even further ahead, you can freeze the assembled garlic bread. Wrap it well and freeze for up to one month. When ready to use, bake it directly from frozen, adding a few extra minutes to the cooking time.
For best results, bake just before serving so you get that perfect crispy texture and warm, buttery finish.
Instructions
Step 1: Preheat the Oven
Preheat your oven to 375°F. This ensures even cooking and helps achieve that perfect golden crust.
Step 2: Prepare the Garlic Butter
In a mixing bowl, combine softened butter, minced garlic, chopped parsley, salt, and black pepper. Mix until smooth and well blended.
Step 3: Slice the Bread
Cut the loaf in half lengthwise or into slices, depending on your preference. Place it on a baking sheet.
Step 4: Spread the Butter
Spread the garlic butter evenly over the cut sides of the bread. Make sure to cover all areas for consistent flavor.
Step 5: Add Cheese (Optional)
Sprinkle grated Parmesan cheese over the top if desired. This adds a slightly crispy, cheesy layer.
Step 6: Bake the Bread
Place the bread in the oven and bake for 10–15 minutes, or until the edges are golden and crispy. Keep an eye on it toward the end.
Step 7: Slice and Serve
Remove from the oven, let it cool slightly, then slice into pieces if needed. Serve warm.
Step 8: Enjoy
Serve immediately while warm and enjoy the buttery, crispy texture. It’s best fresh out of the oven.
Serving Suggestions
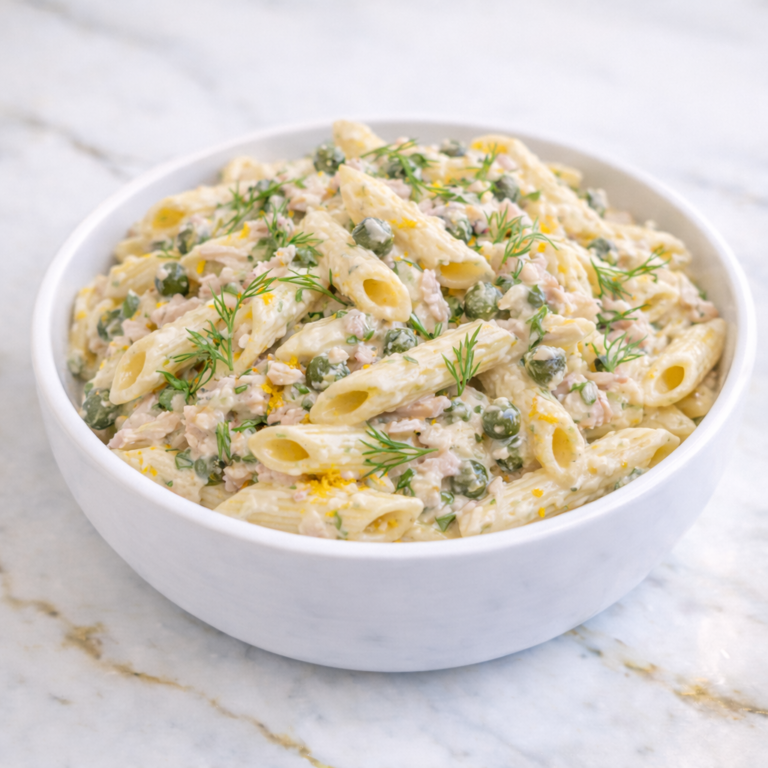
This garlic bread pairs beautifully with a wide range of dishes, making it one of the most versatile sides you can have in your recipe collection. It’s a natural match for pasta dishes like spaghetti, lasagna, or fettuccine Alfredo, where it can soak up rich sauces and add a satisfying crunch.
It also works wonderfully alongside soups, especially tomato-based or hearty vegetable soups. The crispy texture contrasts nicely with the warm, comforting broth.
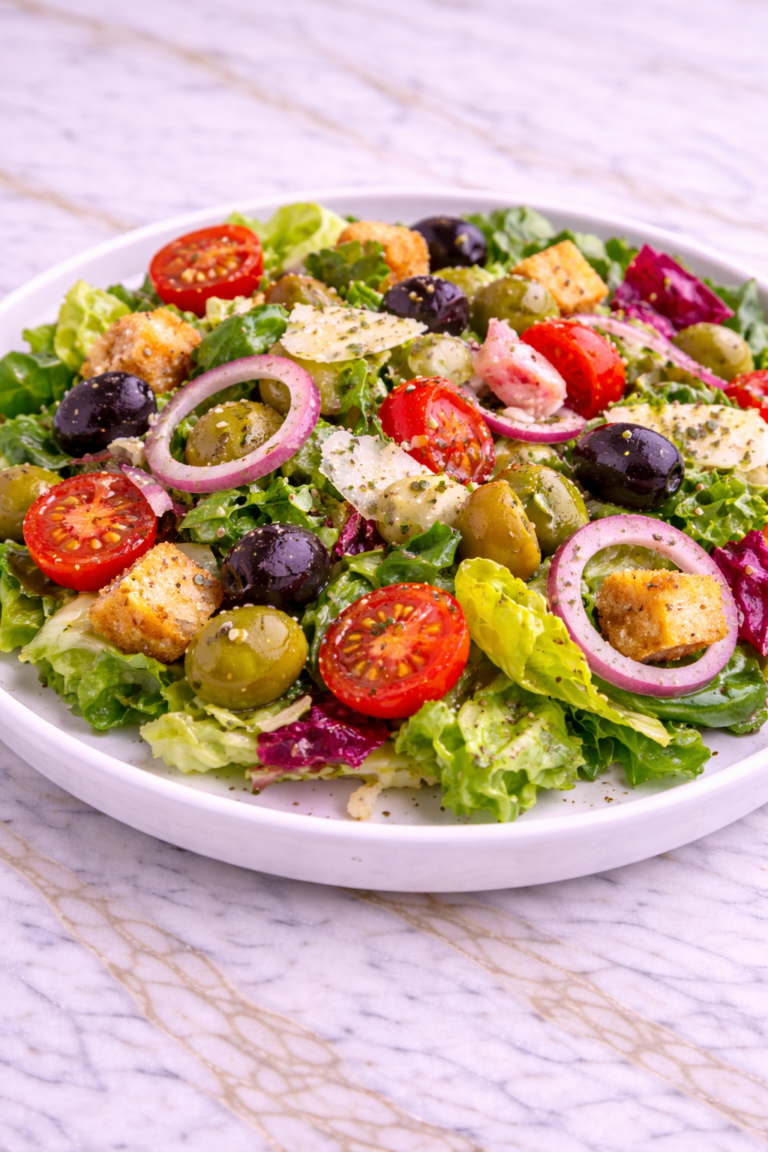
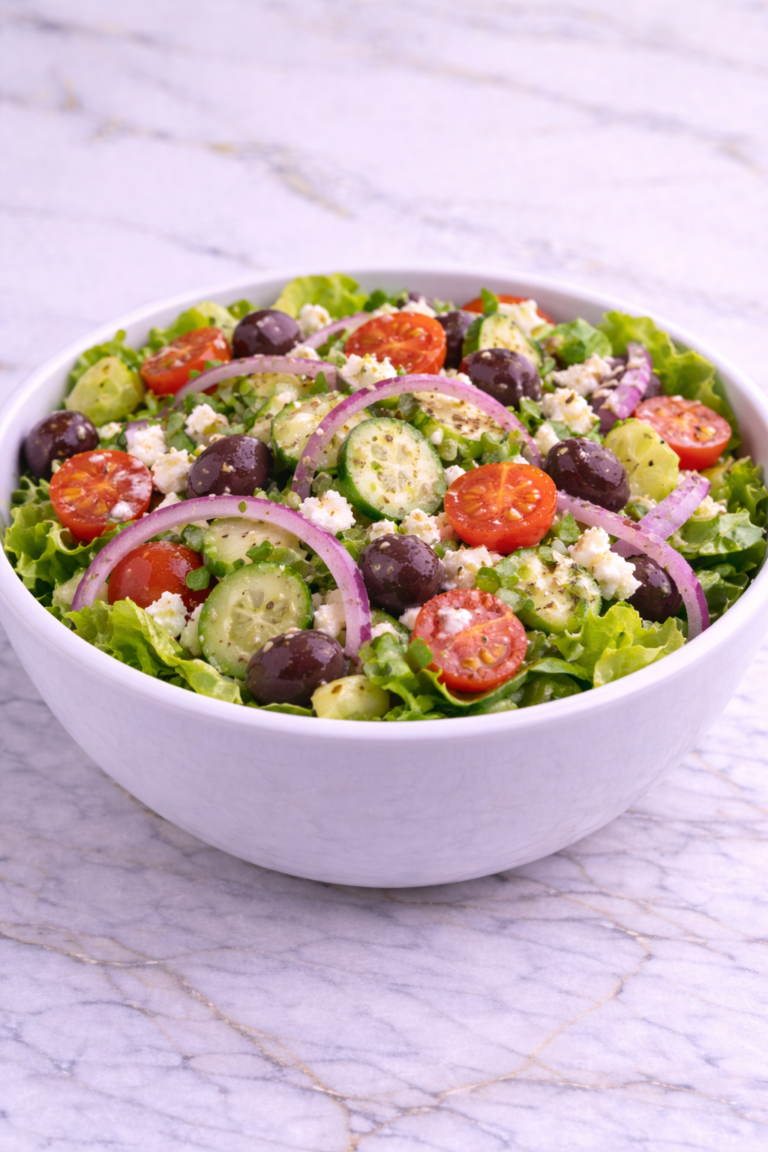
For a lighter pairing, serve it with a fresh green salad. The crisp vegetables and tangy dressing balance the richness of the bread.
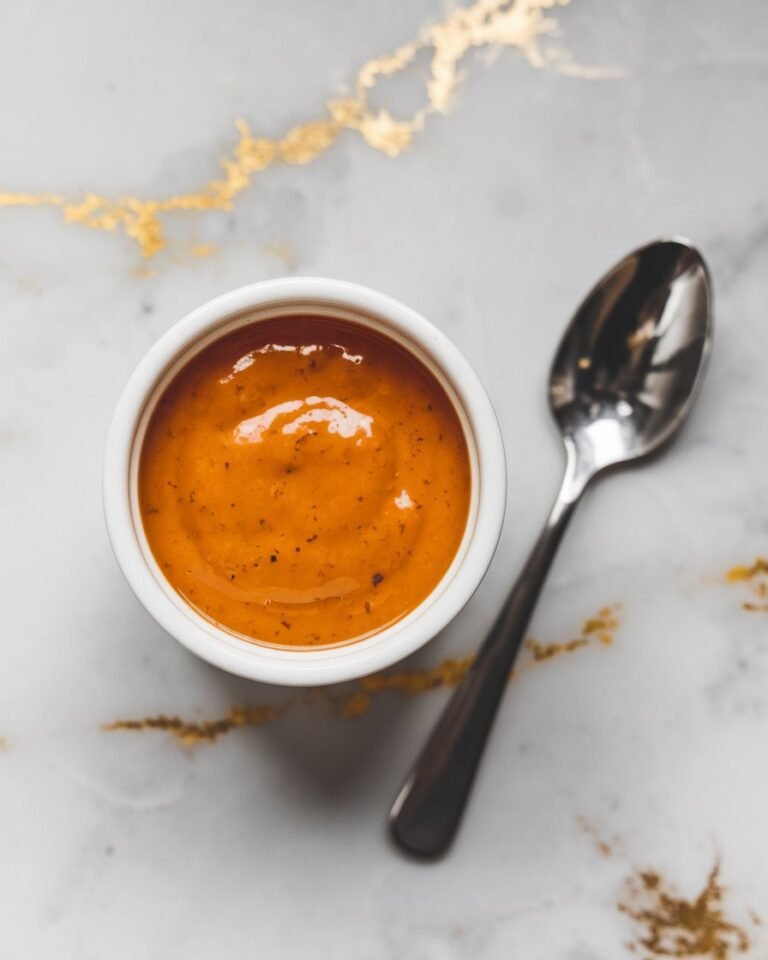
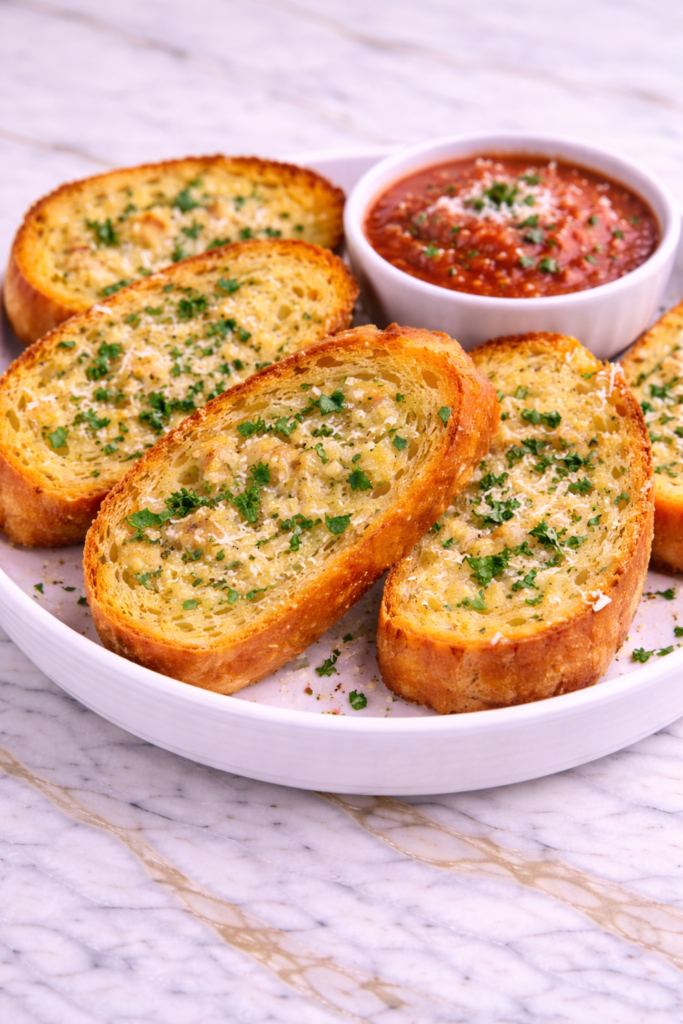
You can even serve garlic bread as an appetizer with marinara sauce for dipping. This turns a simple side into a crowd-pleasing starter.
Leftovers and Storage
Store leftover garlic bread in an airtight container at room temperature for up to one day or in the refrigerator for up to three days. Allow it to cool completely before storing to maintain texture.
To reheat, place the bread in the oven at 350°F for a few minutes until warmed through. This helps restore some of the crispiness.
Avoid microwaving if possible, as it can make the bread soft and chewy rather than crisp.
If frozen, reheat directly in the oven without thawing. This helps maintain the best texture.
For best flavor and texture, enjoy garlic bread fresh. It’s at its peak right out of the oven.
Nutrition and Benefits
- Garlic contains antioxidants and may support immune health, adding both flavor and benefits.
- Making garlic bread at home allows you to control the amount of butter and salt used.
- Using fresh herbs like parsley adds a small boost of vitamins and freshness.
- Pairing with balanced meals can help create a more complete dining experience.
- Adjusting ingredients like using whole grain bread can improve nutritional value.
Recipe FAQ
Can I use pre-minced garlic?
Yes, but fresh garlic provides the best flavor. Pre-minced is a convenient option if needed.
Can I make this without cheese?
Absolutely. The garlic butter alone is flavorful and delicious. Cheese is optional.
How do I keep the bread from getting too hard?
Avoid overbaking and store properly. Reheat gently to maintain texture.
Can I use a different type of bread?
Yes, French bread, Italian bread, or even baguettes work well. Choose your favorite.
Can I make it vegan?
Yes, substitute the butter with a plant-based alternative. The results are still tasty.
Is this recipe kid-friendly?
Yes, the mild garlic flavor and buttery texture make it very appealing to kids.
How do I make it extra crispy?
Broil for 1–2 minutes at the end of baking, watching closely to avoid burning.
A Simple Side That Steals the Show
Once you make garlic bread this way, the pre-made frozen kind is going to feel like a completely unnecessary shortcut every single time.
That crispy golden crust and soft, buttery inside with bold garlic flavor running all the way through creates a side dish that steals attention from whatever else is on the table.
I love making this alongside pasta, soup, or really anything that benefits from something warm and satisfying to go with it.
It comes together in minutes and always disappears before anything else on the table does. Simple, buttery, and made with the kind of generosity Dom DeLuise would have loved. I hope it becomes a staple in your kitchen.