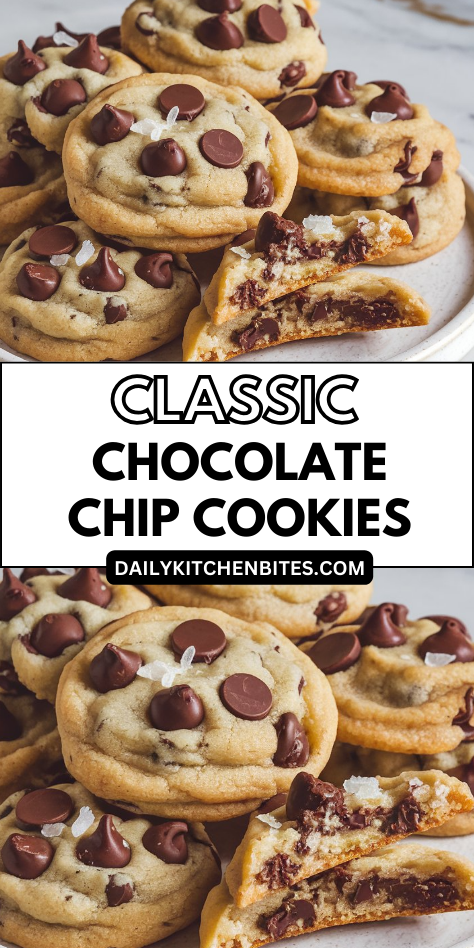
I’ll be honest with you—I’m pretty particular about my chocolate chip cookies, and most recipes out there just don’t cut it.
Too flat, too sweet, or worse, they turn into hockey pucks that could probably break a window. But here’s the thing: getting that perfect chewy center with slightly crispy edges isn’t rocket science, it just requires knowing a few key tricks that most people skip right over.
Why You’ll Love these Chocolate Chip Cookies
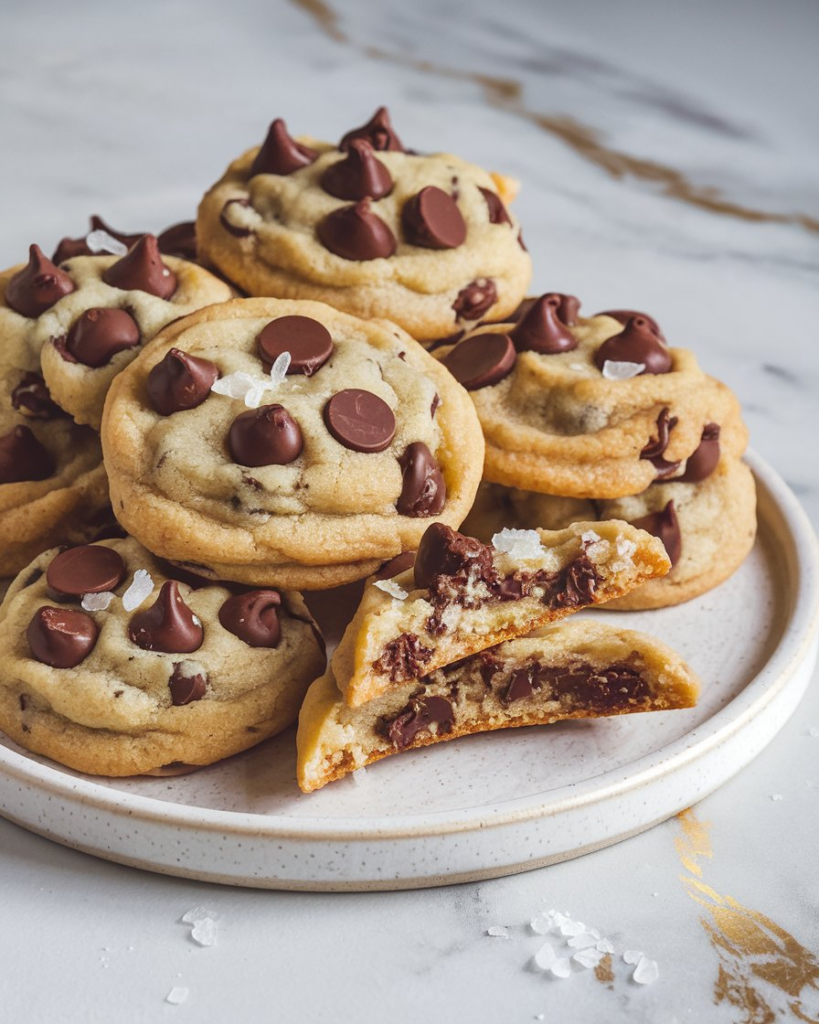
Perfection might be too strong a word, but these cookies come pretty darn close. I’m talking soft centers, crispy edges, and that perfect golden-brown color that makes your kitchen smell like heaven.
They’re not too sweet, not too flat, and definitely not those sad, hockey-puck disasters we’ve all accidentally created. The secret? That extra egg yolk gives them richness, while brown sugar adds chewiness.
Plus, you probably have every ingredient sitting in your pantry right now. No weird stuff, no hunting down specialty items. Just honest-to-goodness cookies that’ll make everyone think you’re some kind of baking genius.
What Ingredients are in Chocolate Chip Cookies?
You’ll need just nine simple ingredients to whip up a batch of these irresistible cookies, and I bet you’ve got most of them tucked away in your kitchen already.
- ¾ cup (180g) unsalted butter, softened
- ¾ cup (150g) brown sugar, packed
- ½ cup (100g) granulated sugar
- 1 egg + 1 yolk, room temperature
- 1½ teaspoons vanilla extract
- 2½ cups (325g) all-purpose flour
- 1 teaspoon baking soda
- 1 teaspoon salt
- 1 cup (190g) semisweet chocolate chips
The beauty of this ingredient list is its simplicity—no fancy extracts or mysterious powders that you’ll use once and then watch expire in your pantry for the next three years.
How to Make these Chocolate Chip Cookies
Step 1
Start by creaming together ¾ cup softened butter, ¾ cup packed brown sugar, and ½ cup granulated sugar until the mixture becomes light and fluffy. This usually takes about 3-4 minutes with an electric mixer, and trust me, your arm will thank you for not attempting this by hand.
For those following a gluten-free diet, investing in a high-end gluten free mixer ensures your equipment stays free from cross-contamination while delivering professional results.
Step 2: Add the Wet Ingredients
Beat in 1 egg plus 1 egg yolk (both at room temperature) and 1½ teaspoons vanilla extract until everything’s well combined. The room temperature part isn’t just me being fussy—cold eggs can make your butter seize up faster than a car engine in winter.
Step 3: Prepare the Dry Ingredients
In a separate bowl, whisk together 2½ cups all-purpose flour, 1 teaspoon baking soda, and 1 teaspoon salt. Whisking might seem unnecessary, but those little lumps of baking soda have a sneaky way of creating bitter pockets in your cookies.
Step 4: Combine Wet and Dry Ingredients
Gradually mix the flour mixture into the butter mixture until just combined. Don’t overmix here—we want tender cookies, not hockey pucks that could double as construction materials.
Step 5: Fold in the Chocolate Chips
Gently fold in 1 cup semisweet chocolate chips, making sure they’re evenly distributed throughout the dough. This is where you can sneak a taste, because quality control is absolutely essential, obviously.
Step 6: Shape and Space the Cookies
Scoop the dough into 1½ tablespoon-sized mounds and place them about 2 inches apart on your baking sheets. They’re going to spread, and nobody wants cookies that have merged into one giant super-cookie, no matter how tempting that sounds.
Step 7: Bake to Golden Perfection
Bake at 375°F for 10-12 minutes, until the edges are golden brown but the centers still look slightly underbaked. They’ll continue cooking on the hot pan after you remove them, so resist the urge to leave them in “just a little longer.”
Step 8: Cool and Enjoy
Let the cookies cool on the baking sheet for about 10 minutes before transferring them to a wire rack. This cooling time prevents them from falling apart when you move them, though I won’t judge if you sneak one while it’s still warm.
What to Serve with Chocolate Chip Cookies
Chocolate chip cookies are basically the Swiss Army knife of desserts—they pair with everything and work for any time of day. For the classic combo, serve them with a cold glass of milk, coffee, or hot chocolate that’ll make you feel like you’re wrapped in a warm blanket.
Want to get fancy? Try them alongside vanilla ice cream for an instant ice cream sandwich situation, or crumble them over fresh berries for a makeshift cobbler topping.
These cookies shine at afternoon snack time, but honestly, who’s going to stop you from having one with your morning coffee?
For parties, set them out with some cheese and fruit—the sweet-salty contrast works surprisingly well, and your guests will think you’re some kind of pairing genius.
Chocolate Chip Cookies Substitutions and Variations
Whether you’re dealing with dietary restrictions, missing ingredients, or just feeling adventurous, I’ve got you covered with swaps that’ll keep your cookies delicious.
No brown sugar? Use all granulated and add a tablespoon of molasses. Want them gluten-free? Swap in almond flour, cup for cup.
I love throwing in chopped nuts, dried cranberries, or even mini marshmallows instead of chocolate chips. For softer cookies, try melted butter instead of softened. Coconut oil works too, though it changes the flavor slightly.
Dark chocolate chips make them more sophisticated, while white chocolate screams comfort food.
Leftovers and Storage for these Chocolate Chip Cookies
Fresh cookies disappear fast around my house, but if you’re lucky enough to have extras, proper storage keeps them tasting bakery-fresh for days.
I store mine in an airtight container at room temperature—they’ll stay soft for up to one week. Want them even softer? Toss in a slice of bread. The cookies absorb moisture from the bread, staying perfectly chewy.
For longer storage, I freeze baked cookies up to three months in freezer bags. Raw cookie dough freezes beautifully too. Just scoop, freeze on trays, then transfer to bags. Bake straight from frozen, adding one extra minute.
Final Thoughts for Chocolate Chip Cookies
There’s something magical about the simplicity of chocolate chip cookies—butter, sugar, flour, and those irresistible little morsels coming together to create pure comfort.
This recipe delivers that perfect balance of crispy edges and chewy centers that makes everyone feel like a kid again.
Whether you’re prepping for a school bake sale, need a quick treat for unexpected guests, or just want to fill your kitchen with that heavenly aroma, these cookies never disappoint.
They’re proof that sometimes the most beloved recipes are the ones that keep things beautifully, deliciously simple.