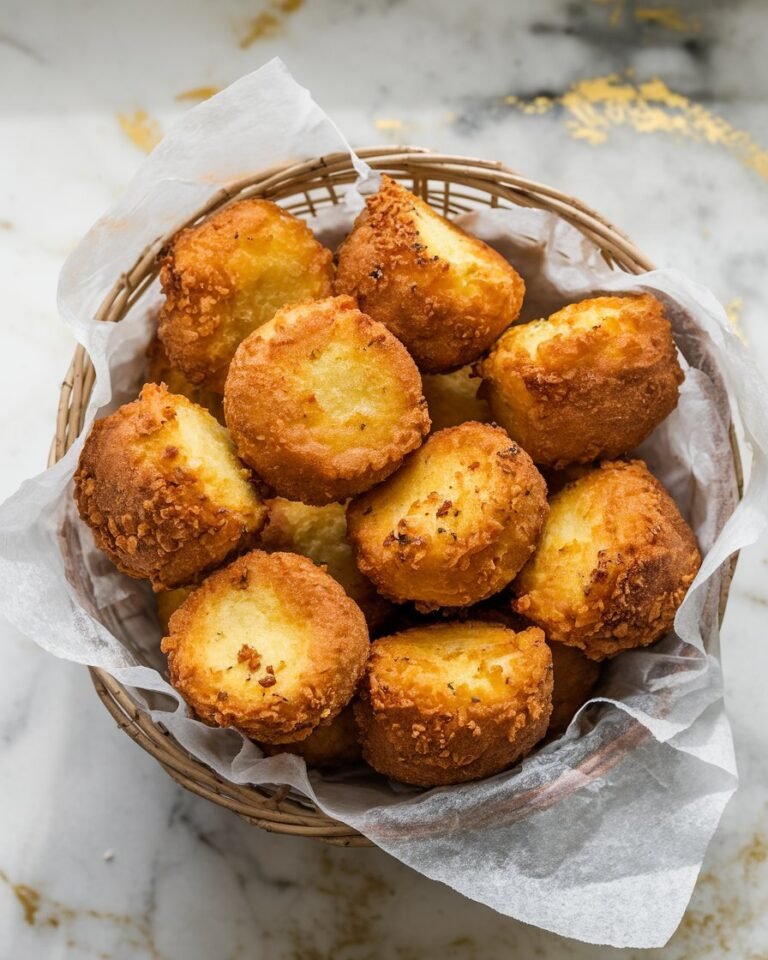
Growing up, we didn’t have an Olga’s Kitchen nearby, but every time we took a trip out of town and found one, I begged for one thing: the Snackers. That warm, buttery flatbread, all golden and crisp on the outside, soft on the inside, sprinkled with that signature seasoning — and don’t even get me started on the white sauce dip. So I finally got around to recreating them at home, and whew… they taste just like I remember.
These are so snackable (hence the name, I guess), and honestly better than store-bought crackers or chips. They’re awesome for parties, movie nights, or just making something cozy to nibble on while the soup simmers. I’ve been making double batches because they disappear fast.

Why You’ll Love This Recipe
These homemade Olga’s Snackers are buttery, crispy, and just a little chewy in the center — everything you love about flatbread chips, with a nostalgic twist. The seasoning is savory and just slightly sweet, and when dipped in that tangy white sauce, it’s a match made in snack heaven. You’ll love that they’re baked, not fried, super budget-friendly, and way easier than you’d expect. They’re perfect for get-togethers, lunchbox treats, or a fun weekend kitchen project with the kids.
What You’ll Need
For the flatbread:
- 1 cup warm milk (about 110°F)
- 2¼ teaspoons active dry yeast (1 packet)
- 1 tablespoon granulated sugar
- ¼ cup plain Greek yogurt or sour cream
- 2 tablespoons olive oil
- 2½ to 3 cups all-purpose flour
- 1 teaspoon salt
- 2 tablespoons unsalted butter (melted, for brushing)
For the Snacker seasoning:
- 2 teaspoons powdered sugar
- ½ teaspoon salt
- ¼ teaspoon garlic powder
- ¼ teaspoon onion powder
- ¼ teaspoon paprika
- Optional: ⅛ teaspoon white pepper
For the Olga’s white sauce dip:
- ½ cup sour cream
- ½ cup plain Greek yogurt or mayo
- 2 teaspoons sugar
- 1 tablespoon white vinegar or lemon juice
- ¼ teaspoon garlic powder
- Pinch of salt (to taste)
Pro Tips
Let the dough rise fully — it should double in size for the best texture. Roll it thin, about ¼-inch or less, so the snackers crisp up well in the oven. Brushing with butter while warm is key for that perfect soft inside and crisp edges. Store the seasoning mix and sauce separately for freshness, and line your pans with parchment paper for easy cleanup and an even crisper bake.
Tools You’ll Need
Mixing bowls, whisk and spoon, rolling pin, bench scraper or pizza cutter, baking sheet, parchment paper, small bowl for seasoning, and airtight containers for storage.
Substitutions & Variations
You can use either yogurt or sour cream in both the dough and the dip. For a dairy-free version, swap with plant-based yogurt and butter alternatives. Add dried herbs like Italian seasoning or za’atar to the seasoning mix for extra flavor. If you want a spicy kick, add a pinch of cayenne. For a sweet variation, skip garlic and sprinkle cinnamon sugar after brushing with butter.
Make Ahead Tips
The dough can be prepared up to two days ahead and refrigerated after the first rise. Let it come back to room temperature before rolling. The white sauce dip can be made up to four days ahead and actually tastes better after sitting for a day. The seasoning mix can also be made ahead in small batches and stored in your pantry for future snackers or even as a popcorn topping.
Instructions
1. Activate the Yeast
In a large bowl, whisk together the warm milk, sugar, and yeast. Let it sit for 5–10 minutes until foamy.
2. Mix the Dough
Add yogurt, olive oil, salt, and 2½ cups of flour. Stir until a dough forms, adding more flour if needed. Turn onto a floured surface and knead for 5–7 minutes until smooth and elastic.
3. Let it Rise
Place in an oiled bowl, cover, and let rise in a warm place for 1 hour or until doubled.
4. Preheat and Prep
Preheat oven to 425°F. Line baking sheets with parchment. Mix the seasoning ingredients and set aside.
5. Roll and Cut
Divide dough in half. Roll each portion to ¼-inch thickness, cut into triangles, and place on baking sheets.
6. Bake
Bake for 6–8 minutes until puffed and golden. Immediately brush with melted butter and sprinkle with seasoning.
7. Make the White Sauce Dip
Stir together sour cream, yogurt (or mayo), sugar, vinegar, garlic powder, and salt. Adjust to taste and chill.
8. Serve
Serve warm snackers with the chilled white sauce on the side.
Serving Suggestions
These snackers are perfect as an appetizer with the white sauce dip, but you can also serve them with hummus or tzatziki for variety. They make a fun lunchbox addition, pair well with soup or salad, and are a hit on snack boards for movie nights or game days.
Leftovers & Storage
Snackers can be stored at room temperature for up to three days in an airtight container. Reheat in the oven at 350°F for a few minutes to crisp them back up. The dip will last in the fridge for up to four days; just give it a stir if it separates. Avoid microwaving the snackers, as they’ll lose their crispness — oven or air fryer reheating works best.
Nutrition & Benefits
These snackers are a comfort food, but making them at home gives you more control over ingredients. Using yogurt, less salt, and baking instead of frying keeps them lighter while still giving you that golden, crispy texture. The dip adds protein from the yogurt and sour cream, making it a surprisingly satisfying pairing.
Recipe FAQ
1. What makes Olga’s Snackers different from pita chips?
They’re softer and chewier inside, brushed with butter, and seasoned after baking for a unique flavor.
2. Can I make them without yeast?
You can use baking powder flatbread instead, but it will be denser.
3. Can I freeze the dough or snackers?
Yes. Freeze the dough after the first rise or freeze baked snackers and reheat in the oven.
4. Can I use store-bought flatbread?
Yes. Cut into triangles, bake for 5–6 minutes at 400°F, brush with butter, and add the seasoning.
5. What’s in the seasoning mix?
A sweet-savory combo of powdered sugar, salt, garlic, onion, and paprika.
The Final Bite
These homemade Olga’s Snackers are warm, buttery, and instantly nostalgic. They have just the right crisp with a soft bite inside, paired perfectly with that tangy dip you’ll want to put on everything. Whether you’re recreating a childhood memory or trying them for the first time, this recipe brings all the comfort and flavor of the original — fresh from your own kitchen.