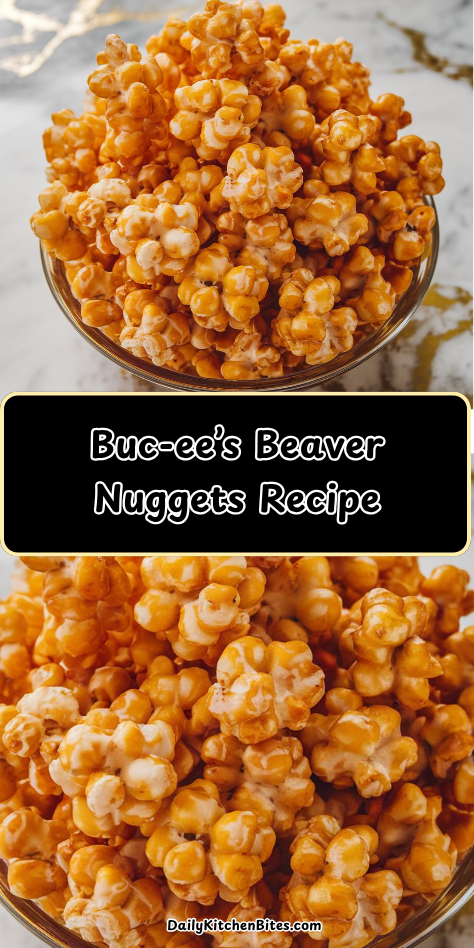
So I finally gave in and tried making a batch of homemade Beaver Nuggets — you know, the sweet, crunchy puffed corn snack everyone raves about from Buc-ee’s? I’d grabbed a bag on a road trip once and couldn’t stop snacking the entire way home. And let me tell you… making them yourself is just as satisfying, maybe even better.
There’s just something about recreating a road trip snack at home. Buc-ee’s is legendary for its snacks, and these nuggets are one of the most iconic. I still remember pulling into the gas station after hours on the road, tired but excited, and walking out with that big red bag of Beaver Nuggets. By the time we got home, the bag was almost empty. Now, having a homemade version means I don’t have to wait for the next road trip — I can have that same buttery, caramel crunch whenever the craving hits.
This recipe brings that same golden, buttery crunch right to your kitchen. It’s dangerously easy — you toss puffed corn in a simple caramel coating, bake it low and slow, and boom, snack magic. I made a batch thinking it’d last a few days. It didn’t even survive the afternoon.
Why You’ll Love This Recipe
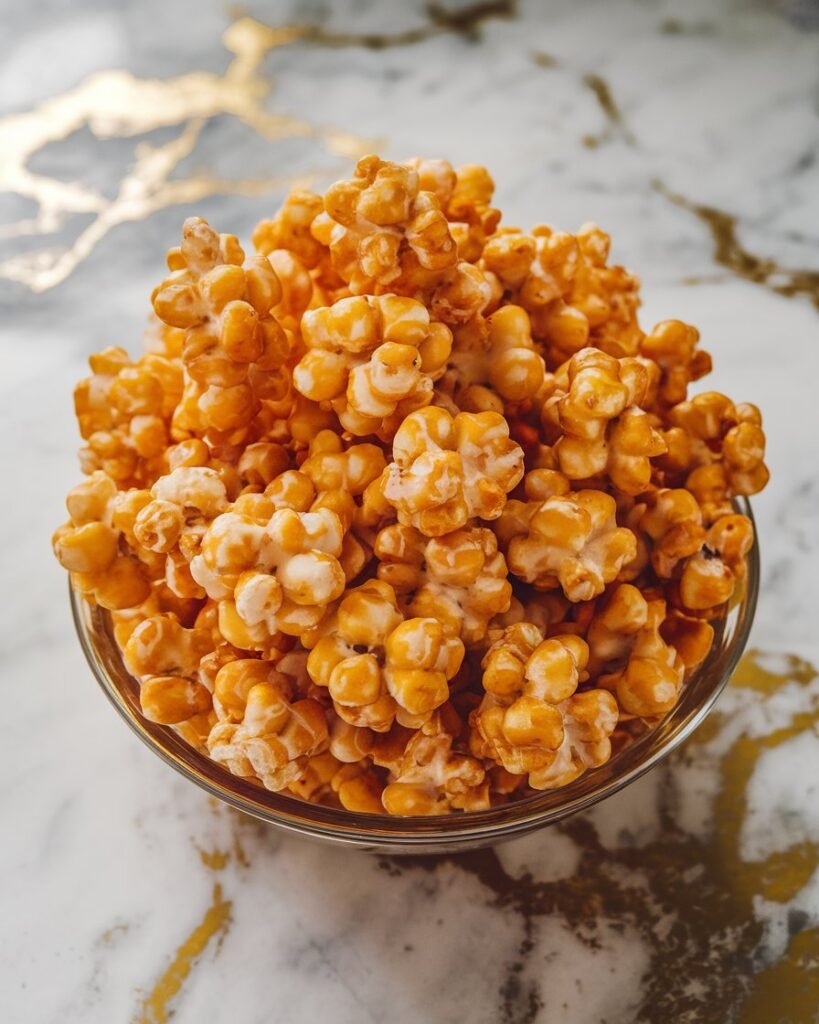
These homemade Beaver Nuggets are dangerously addictive — light, crispy, and coated in a rich, buttery caramel that hardens into the perfect candy shell. They taste just like the Buc-ee’s original (maybe even better fresh) and are made with only a few pantry staples.
They’re perfect for snacking, gifting, or adding to a dessert table, and they store beautifully for days (if they last that long). Whether you’ve had Buc-ee’s before or you’re just curious, this recipe delivers that famous crunch and sweetness without the road trip.
What You’ll Need
For the nuggets:
- 1 (7–8 oz) bag puffed corn (butter or plain, no hulls or kernels)
For the caramel coating:
- ½ cup (1 stick) unsalted butter
- 1 cup brown sugar (light or dark)
- ¼ cup light corn syrup
- ½ teaspoon baking soda
- ¼ teaspoon salt
- 1 teaspoon vanilla extract
Pro Tips
- Use the right puffed corn — make sure it’s hulless and kernel-free (brands like Chesters or Clancy’s work well).
- Stir quickly and evenly once you pour the caramel on the corn to coat everything before it cools.
- Bake low and slow — stirring every 15 minutes is key for that even crunch.
- Let cool completely before storing — the coating hardens as it cools.
- Add parchment to your baking pans for easy cleanup — the caramel is sticky before it sets.
Tools You’ll Need
- Large mixing bowl
- Saucepan
- Whisk or wooden spoon
- Two baking sheets
- Parchment paper or silicone mats
- Rubber spatula or spoon
- Airtight containers for storage
Substitutions & Variations
- Butter: Use salted butter, but reduce added salt to ⅛ tsp.
- Corn syrup: Try maple syrup or honey, though texture may vary slightly.
- Brown sugar: Use dark for a deeper molasses flavor.
- Spiced version: Add a pinch of cinnamon, cayenne, or pumpkin spice to the caramel.
- Chocolate drizzle: Once cooled, drizzle with melted chocolate and let set.
Make Ahead Tips
These are a dream for make-ahead snacking. Store in airtight containers or zip-top bags at room temperature for up to one week.
You can also portion them into treat bags or jars for holiday gifts, party favors, or game day snacks.
Instructions
1. Preheat Oven & Prep Pans
Preheat your oven to 250°F. Line two large baking sheets with parchment paper or silicone mats. Pour puffed corn into a large mixing bowl.
2. Make the Caramel
In a medium saucepan, combine butter, brown sugar, corn syrup, and salt. Stir over medium heat until the mixture begins to bubble. Let it boil gently for 2–3 minutes, stirring constantly. Remove from heat and immediately whisk in the baking soda and vanilla. The mixture will foam up slightly — this helps coat the corn evenly.
3. Coat the Corn
Quickly pour the hot caramel over the puffed corn. Use a rubber spatula or large spoon to gently toss and coat all the pieces. Work quickly before the caramel starts to harden.
4. Bake
Spread the coated corn onto the prepared baking sheets in an even layer. Bake at 250°F for 45 minutes, stirring and flipping the mixture every 15 minutes for even coating and crispness.
5. Cool
Remove from the oven and let cool completely on the pans. The caramel will harden and become crisp as it cools. Break into clusters or bite-sized pieces and store in an airtight container.
Serving Suggestions
- Serve in big bowls at parties or movie nights.
- Pack in small bags or jars for homemade gifts.
- Crumble over vanilla ice cream or yogurt.
- Add to snack mix with pretzels and nuts.
- Sneak into lunchboxes or road trip snacks.
- Sprinkle over holiday dessert boards or charcuterie-style snack trays.
- Use as a topping for caramel cheesecake or banana pudding for an extra crunch.
Leftovers & Storage
Let the nuggets cool completely before storing. Place in an airtight container or zip-top bag and store at room temperature for up to one week.
To keep extra crispy, tuck a piece of parchment paper inside to absorb moisture. Do not refrigerate — that can make them sticky.
If they soften slightly, re-crisp them on a baking sheet in a 250°F oven for 10 minutes.
Nutrition & Benefits
While these nuggets are definitely a treat, making them at home means you skip preservatives and control the sweetness level. Each piece is made with real butter, simple sugar, and air-puffed corn — so it’s lighter than most traditional caramel popcorn or candy.
They’re gluten-free (check your puffed corn brand), and easy to portion out for sharing or gifting. A little crunchy sweetness goes a long way in lifting the mood.
Recipe FAQ
1. What’s the best puffed corn to use?
Look for “hulless puffed corn” or “corn puffs” with no kernels — Clancy’s, Chesters, or Puffcorn brands work well.
2. Can I make this without corn syrup?
Yes — try maple syrup or honey, but the texture might be softer or less crisp.
3. Why does the caramel foam when adding baking soda?
The baking soda creates air bubbles, which makes the coating light and crispy.
4. How do I keep them from sticking together?
Spread out on baking sheets to cool completely. Store in a dry container at room temp.
5. Can I double the recipe?
Absolutely — just use larger bowls and more baking sheets. Rotate pans in the oven for even baking.
The Final Crunch
These homemade Beaver Nuggets are the kind of snack that disappear fast — sweet, crispy, and totally irresistible. Whether you’re making them for a crowd, a movie night, or just because you miss Buc-ee’s, they’re fun to whip up and even more fun to eat.
I’ll definitely be keeping a batch on hand for road trips, game days, or honestly… just to snack on while binge-watching shows.