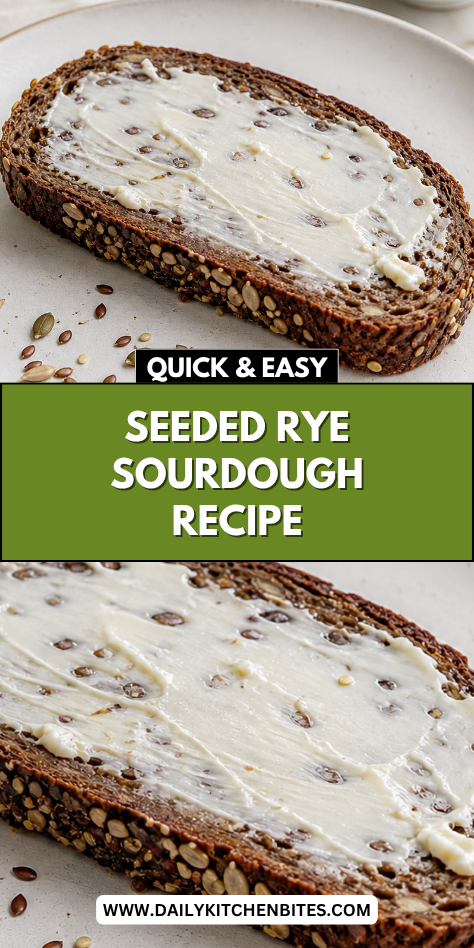
I make this Seeded Rye Sourdough when I want a loaf that feels a little more rustic and hearty without being complicated. The smell of it baking fills the kitchen in a slow, steady way that always makes the day feel calmer. It’s a bread I come back to often because it feels both simple and dependable.
Over time, this recipe has become a staple in my kitchen, especially for family meals and weekend baking. The seeds add a gentle crunch, while the rye flour gives the bread a deeper, more comforting flavor. It’s the kind of loaf that works just as well for toast in the morning as it does alongside a warm dinner.
Why You’ll Love This Recipe
Seeded Rye Sourdough has a rich, balanced flavor that comes from the mix of rye flour and natural fermentation. The texture is soft on the inside with a slightly chewy crust, and the seeds add a subtle crunch that makes each slice more interesting. It’s a satisfying bread that feels both wholesome and comforting.
This recipe is also approachable for home bakers who want to work with sourdough without feeling overwhelmed. The steps are simple and flexible, making it easier to fit into your schedule. It’s a reliable loaf that delivers consistent results with just a bit of patience.
Serves: 8 people
This recipe makes one medium loaf, which yields about 8 to 10 slices depending on how thick you cut them. It’s perfect for a small family and can easily be doubled if you want to bake more. The bread stores well, so you can enjoy it over several days.
Ingredients You’ll Need
For the dough:
- 1 cup active sourdough starter
- 1 ½ cups warm water
- 2 cups bread flour
- 1 cup rye flour
- 1 ½ teaspoons salt
For the seed mix:
- 2 tablespoons sunflower seeds
- 2 tablespoons pumpkin seeds
- 1 tablespoon sesame seeds
- 1 tablespoon flaxseeds
Optional topping:
- Extra mixed seeds for sprinkling
- 1 teaspoon water (for brushing)
Pro Tips
Make sure your sourdough starter is active and bubbly before you begin. This helps the dough rise properly and gives the bread its signature texture.
Mix the dough until just combined and allow it to rest before kneading. This resting period helps the flour absorb the water and improves the dough’s structure.
Use a light touch when shaping the dough to avoid deflating it too much. Keeping some air in the dough helps create a better crumb.
Let the dough rise in a warm, draft-free spot for the best results. Consistent temperature helps the fermentation process stay steady.
Toast the seeds lightly before adding them to the dough if you want a deeper flavor. This step is optional but can enhance the overall taste.
If you’re baking with kids, let them help measure and mix the ingredients. It’s a simple way to involve them and make the process more enjoyable.
Tools You’ll Need
- Large mixing bowl
- Measuring cups and spoons
- Wooden spoon or dough whisk
- Clean kitchen towel
- Proofing basket or bowl
- Baking sheet or Dutch oven
- Sharp knife or bread lame
- Cooling rack
Substitutions and Variations
Change the Flour Mix
You can use more bread flour and less rye flour for a lighter texture. This makes the loaf a bit softer while still keeping some of the rye flavor.
Use Different Seeds
Swap in seeds like chia, poppy, or hemp if you prefer. This allows you to adjust the flavor and texture while keeping the same basic structure.
Make It Lighter
Reduce the amount of seeds slightly for a softer crumb. This is helpful if you prefer a less dense loaf.
Add a Touch of Sweetness
Mix in a small amount of honey or molasses to the dough. This adds a mild sweetness that pairs well with the rye.
Try a Different Shape
Shape the dough into rolls instead of a single loaf. This creates smaller portions that are easy to serve and store.
Make Ahead Tips
Seeded Rye Sourdough fits well into a flexible baking schedule, which makes it easier to plan around your day. You can mix the dough and let it go through its first rise, then place it in the refrigerator overnight for a slower fermentation that builds deeper flavor.
If you prefer to break the process into smaller steps, prepare the dough earlier in the day and shape it in the evening. The shaped dough can be refrigerated and baked the next day, which helps improve both texture and taste.
You can also freeze the fully baked loaf once it has cooled completely. Slice it before freezing so you can easily take out just what you need and toast it when ready to serve.
Instructions
Step 1: Mix the Dough
In a large mixing bowl, combine the active sourdough starter and warm water, stirring until mostly smooth. Add the bread flour, rye flour, and salt, then mix until a rough dough forms.
Step 2: Rest the Dough
Cover the bowl with a clean kitchen towel and let the dough rest for 30 minutes. This resting period helps the flour fully hydrate and makes the dough easier to handle.
Step 3: Add the Seeds
Sprinkle the seed mix over the dough and gently fold it in until evenly distributed. Make sure the seeds are incorporated without overworking the dough.
Step 4: Knead and Develop Structure
Turn the dough onto a lightly floured surface and knead gently for about 5 to 7 minutes. The dough should become smoother and slightly elastic while still feeling soft.
Step 5: First Rise
Place the dough back into the bowl and cover it. Let it rise at room temperature for 3 to 4 hours, or until it has expanded noticeably and feels airy.
Step 6: Shape the Dough
Turn the dough out onto a lightly floured surface and shape it into a round or oval loaf. Use a light touch to keep the air inside the dough while forming a smooth outer surface.
Step 7: Second Rise
Place the shaped dough into a proofing basket or bowl lined with a floured towel. Cover and let it rise for another 1 to 2 hours, or until it has puffed slightly and holds its shape.
Step 8: Preheat and Prepare
Preheat your oven to 450°F (230°C) and place a Dutch oven or baking vessel inside to heat. Carefully turn the dough onto parchment paper, score the top with a sharp knife, and sprinkle extra seeds if desired.
Step 9: Bake the Bread
Transfer the dough into the preheated Dutch oven and cover with a lid. Bake for 20 minutes, then remove the lid and bake for another 20 to 25 minutes until the crust is deep golden brown.
Step 10: Cool Before Slicing
Remove the bread from the oven and place it on a cooling rack. Let it cool completely before slicing to allow the interior to set properly.
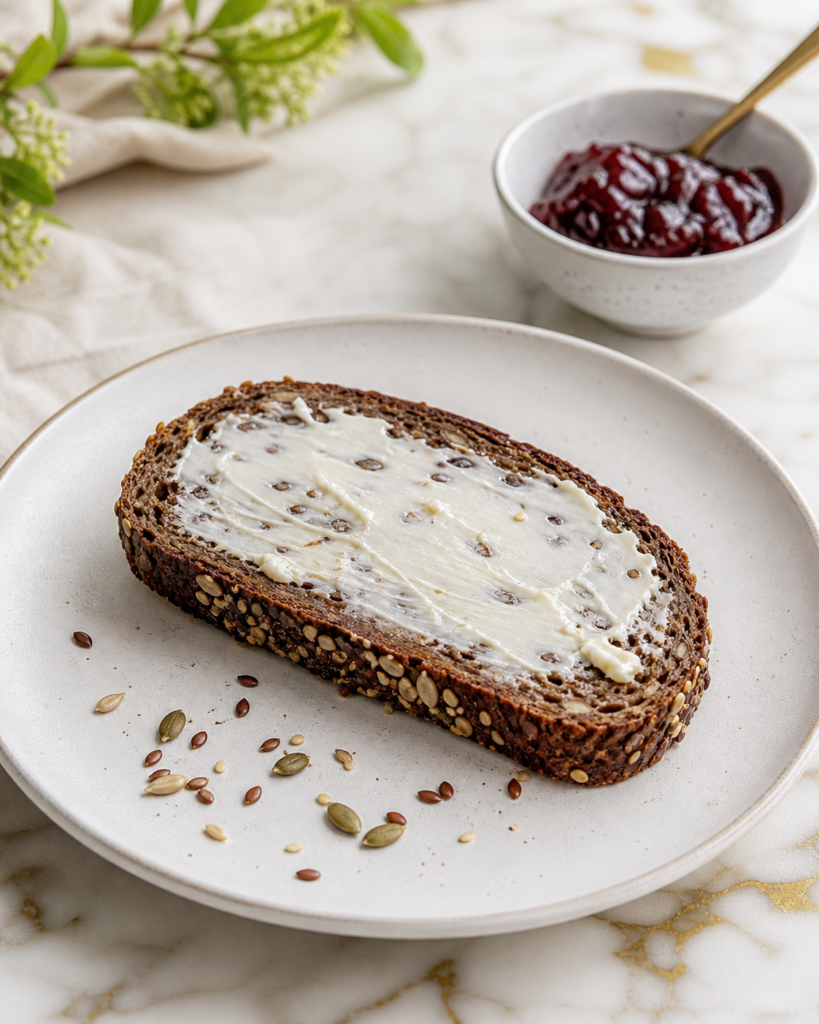
Serving Suggestions
This bread is especially good when served warm with a simple spread of butter or a drizzle of honey. The seeds and rye flavor pair well with both sweet and savory toppings, making it a versatile option for any meal.
You can also use it as a base for sandwiches, pairing it with fresh vegetables, cheese, or deli meats. Its hearty texture holds up well and adds a satisfying bite to each sandwich.
For a lighter option, serve slices alongside soups or salads. The bread complements warm dishes nicely and helps create a balanced and comforting meal.
Leftovers and Storage
Seeded Rye Sourdough stores well at room temperature for up to three days when kept in a paper bag or wrapped in a clean kitchen towel. This helps maintain the crust while keeping the inside soft.
If you need to store it longer, place the loaf in an airtight container or wrap it tightly and refrigerate it for up to a week. Keep in mind that refrigeration can slightly dry out the bread, so toasting slices before serving can help restore texture.
For freezing, slice the bread and store it in a freezer-safe bag for up to three months. You can toast slices directly from frozen or let them thaw at room temperature before serving.
Nutrition and Benefits
- Rye flour provides fiber and nutrients that support digestion and help create a more filling bread.
- Sourdough fermentation can make the bread easier to digest and may help improve nutrient absorption.
- Seeds add healthy fats, protein, and a variety of vitamins and minerals, enhancing the overall nutritional value.
- This bread is made with simple, whole ingredients, making it a wholesome option for everyday meals.
- The combination of grains and seeds creates a balanced source of energy that works well for both adults and kids.
Recipe FAQ
Can I make this bread without a sourdough starter?
This recipe relies on a sourdough starter for both flavor and structure, so it’s not recommended to skip it. However, you can use a small amount of yeast as an alternative, though the flavor will be different. The sourdough process is what gives the bread its unique character.
Why is my dough too sticky?
Rye flour tends to create a stickier dough compared to regular bread flour. Lightly flour your hands and work surface to make handling easier without adding too much extra flour. The dough should remain soft but manageable.
How do I know when the dough has risen enough?
The dough should look slightly puffed and feel airy when gently pressed. It may not double in size like other breads, especially because of the rye flour. A gentle indentation that slowly springs back is a good sign it’s ready.
Can I bake this without a Dutch oven?
Yes, you can use a baking sheet or another oven-safe dish. To create steam, place a small pan of water in the oven while baking. This helps develop a better crust.
Why do I need to score the dough?
Scoring allows the bread to expand properly while baking. Without it, the loaf may crack unevenly. It also helps control the final shape of the bread.
Can I add more seeds to the dough?
Yes, you can increase the amount of seeds if you prefer a more textured loaf. Just be careful not to add too many, as it can make the bread dense. A balanced amount works best.
Is this bread good for kids?
Yes, this bread can be a great option for kids, especially when served with simple spreads. The seeds add texture, but the overall flavor is mild and comforting. You can reduce the seeds slightly if needed for a softer texture.
Conclusion
This Seeded Rye Sourdough is a steady and reliable recipe that brings a sense of comfort to everyday baking.
It uses simple ingredients and a gentle process to create a loaf that feels both wholesome and satisfying.
The balance of soft crumb and crisp crust makes it easy to enjoy in many different ways throughout the week.
It’s a bread you can return to often, knowing it will deliver consistent and comforting results each time.