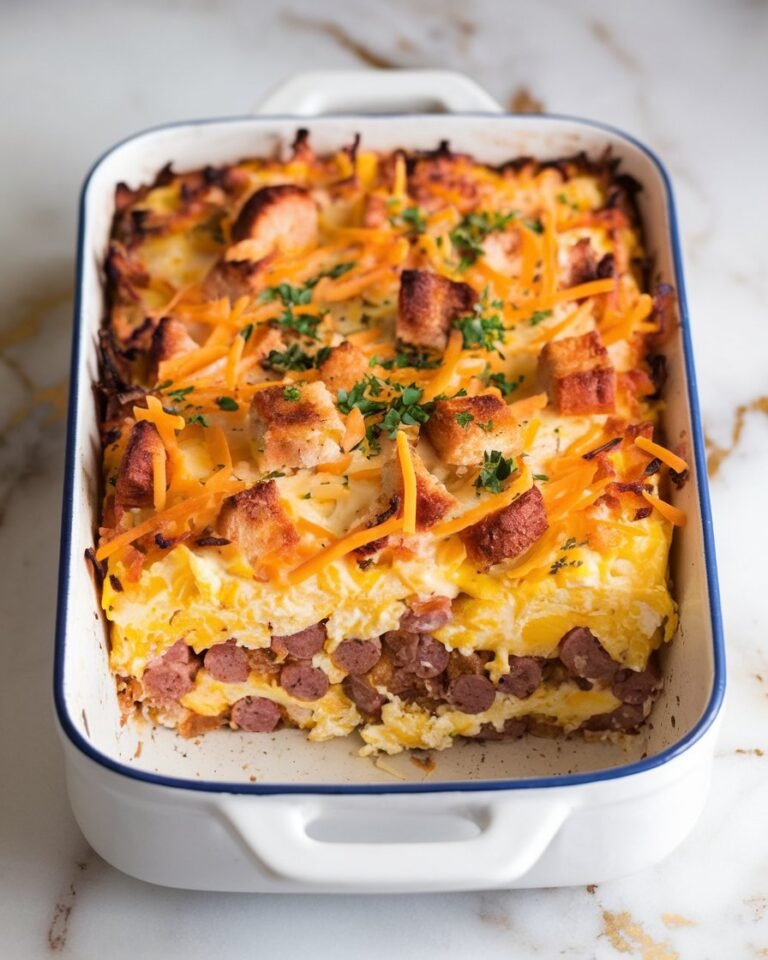
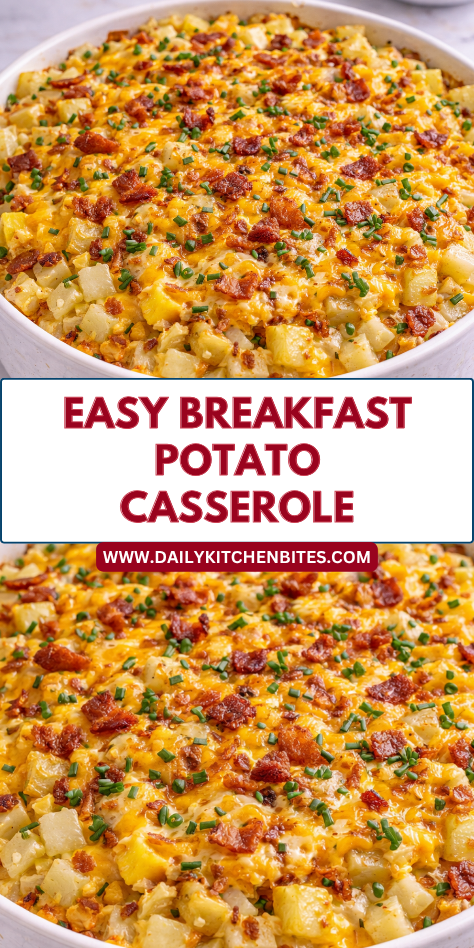
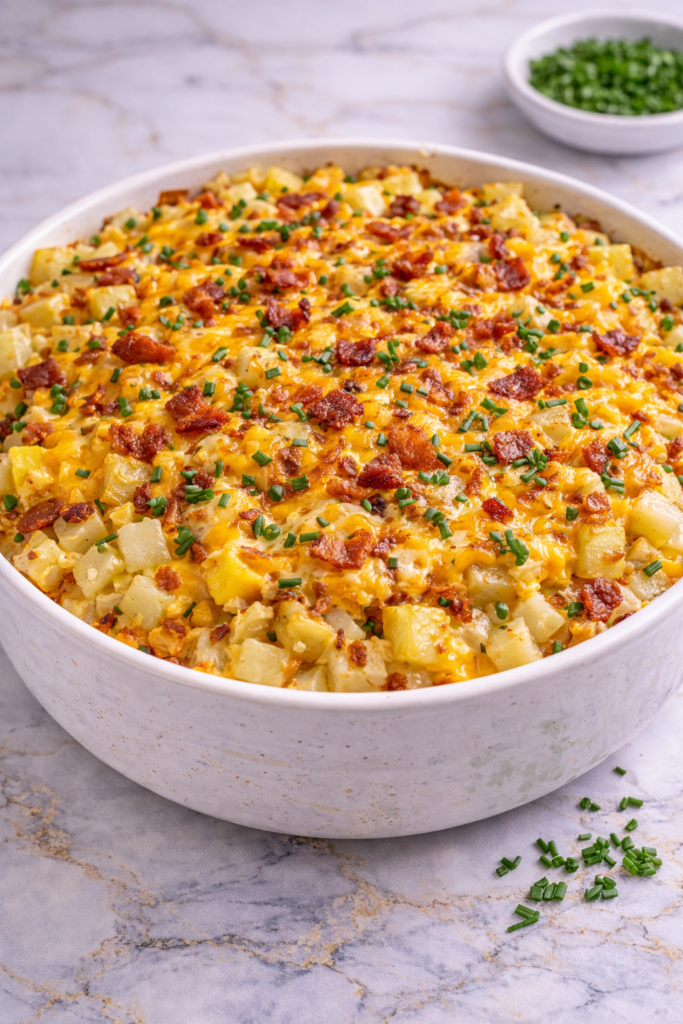
Some mornings call for a meal that feels warm, hearty, and worth gathering around the table for. Breakfast Potato Casserole is one of those dependable recipes in our home, filled with tender potatoes, eggs, cheese, and comforting flavor in every bite.
I first started making this casserole for holiday mornings and weekend breakfasts when I wanted something easy to feed everyone at once.
It quickly became a family favorite because it can be prepared ahead, bakes beautifully in one dish, and makes the whole kitchen smell wonderful.
Why You’ll Love This Recipe
This recipe brings together all the best breakfast flavors in one simple casserole. Crispy-edged potatoes, fluffy eggs, melted cheese, and savory mix-ins create a meal that feels satisfying and complete.
It is also wonderfully practical for busy mornings. Much of the prep can be done ahead of time, and the oven handles the cooking while you focus on the rest of the day.
Families love how flexible it is. Add bacon, sausage, vegetables, or keep it simple with cheese and potatoes depending on what everyone enjoys most.
Serves: 8 people
This recipe makes eight generous servings, depending on portion size and side dishes. It can easily be doubled for large gatherings or brunch buffets.
Ingredients You’ll Need
For the Casserole
- 1 (30-ounce) bag frozen hash browns, thawed, or 5 cups diced cooked potatoes
- 1 tablespoon olive oil or melted butter
- 1 teaspoon salt
- 1/2 teaspoon black pepper
- 1 teaspoon garlic powder
- 1 teaspoon onion powder
For the Egg Mixture
- 10 large eggs
- 1 cup whole milk
- 1/2 cup sour cream
- 1/2 teaspoon salt
- 1/4 teaspoon black pepper
For the Fillings
- 2 cups shredded cheddar cheese
- 1 cup mozzarella or Monterey Jack cheese
- 1 cup cooked breakfast sausage, crumbled
- 8 slices bacon, cooked and chopped
- 1/2 cup diced onion
- 1/2 cup diced bell pepper
- 2 green onions, sliced
Optional for Serving
- Salsa
- Hot sauce
- Sour cream
- Fresh parsley
Frozen hash browns are a great shortcut and save time. If using fresh potatoes, cook them first until just tender before adding to the casserole.
Pro Tips
Thaw frozen hash browns and pat away excess moisture before using. This helps the casserole bake with a better texture.
Cook onions and peppers briefly before adding if you prefer softer vegetables. This also deepens their flavor.
Whisk the eggs thoroughly so the casserole bakes evenly and has a fluffy texture.
Do not overbake. Remove the casserole once the center is set to keep the eggs tender.
Let the casserole rest for 10 minutes before slicing. This helps it hold together more neatly.
For families with younger children, keep one half simple with just cheese and potatoes while adding vegetables or meats to the other half.
Tools You’ll Need
- 9×13-inch baking dish
- Large mixing bowls
- Whisk
- Measuring cups
- Measuring spoons
- Knife
- Cutting board
- Skillet (for cooking meats or vegetables)
- Spatula
- Aluminum foil (optional)
A ceramic or glass baking dish works especially well because it holds heat nicely and serves beautifully at the table.
Substitutions and Variations
Use diced cooked potatoes instead of hash browns for a chunkier casserole texture. Both options are delicious.
Swap cheddar for pepper jack, Swiss, Colby, Monterey Jack, or mozzarella. Mixing cheeses creates extra flavor.
Use cooked ham, turkey sausage, or chopped rotisserie chicken instead of breakfast sausage or bacon.
For a vegetarian version, skip the meat and add mushrooms, spinach, zucchini, or extra peppers.
Greek yogurt can replace sour cream for a lighter option with similar creaminess.
Use half-and-half instead of milk for a richer casserole.
For a spicy version, add diced jalapeños, pepper jack cheese, or hot sauce to the egg mixture.
If you need gluten-free options, simply check labels on hash browns, sausage, and seasonings. Most versions can be naturally gluten-free.
Add cooked spinach or kale for extra greens. Squeeze out moisture first so the casserole does not become watery.
You can also top the casserole with crushed buttery crackers or extra cheese during the last few minutes of baking for a golden finish.
Make Ahead Tips
This casserole is perfect for planning ahead, especially for holidays, brunches, or busy weekday mornings. You can fully assemble the casserole the night before, cover tightly, and refrigerate until ready to bake.
If baking straight from the refrigerator, let the dish sit at room temperature for about 20 minutes while the oven preheats. This helps the casserole cook more evenly in the center.
You can also cook the bacon, sausage, and vegetables a day ahead to save time. Store them separately until assembly.
For meal prep, bake the casserole completely, cool it, and portion it into containers for quick breakfasts during the week.
Instructions
Step 1: Preheat the Oven
Preheat your oven to 375°F. Lightly grease a 9×13-inch baking dish with butter or nonstick spray.
Starting with a prepared dish makes cleanup easier and helps the casserole release cleanly when serving.
Step 2: Prepare the Potatoes
Place the thawed hash browns or cooked diced potatoes in a large bowl. Add olive oil or melted butter, salt, black pepper, garlic powder, and onion powder.
Toss until evenly coated. Spread the potatoes evenly into the prepared baking dish.
Step 3: Add the Fillings
Sprinkle the diced onion, bell pepper, cooked sausage, and chopped bacon evenly over the potatoes. Scatter half of the shredded cheddar and mozzarella over the top.
Layering the ingredients helps every slice include a little of everything.
Step 4: Mix the Eggs
In a large bowl, crack the eggs and add milk, sour cream, salt, and black pepper. Whisk until smooth and fully combined.
Be sure the sour cream is blended in well so the mixture bakes evenly.
Step 5: Pour the Egg Mixture
Slowly pour the egg mixture evenly over the potato and filling layers. Use a spatula or spoon to gently press any dry ingredients into the liquid if needed.
This helps the casserole bake evenly and keeps ingredients from drying on top.
Step 6: Add Remaining Cheese
Sprinkle the remaining cheddar and mozzarella evenly over the surface. The extra cheese creates a golden, melty top layer everyone loves.
Add green onions now or save them for garnish after baking. Both options work well.
Step 7: Bake Covered
Cover the dish loosely with foil and place it in the oven. Bake for 30 minutes.
Covering early in baking helps the eggs set gently without over-browning the cheese.
Step 8: Bake Uncovered
Remove the foil and continue baking for 15 to 25 minutes more, or until the center is set and the top is lightly golden.
A knife inserted near the center should come out mostly clean. Avoid overbaking so the eggs stay tender.
Step 9: Rest Before Serving
Remove the casserole from the oven and let it rest for 10 minutes. This helps it firm up slightly for cleaner slices.
Resting also allows the heat to distribute evenly through the dish.
Step 10: Slice and Serve
Cut into squares and serve warm. Garnish with green onions, parsley, salsa, sour cream, or hot sauce if desired.
This casserole is hearty enough to serve on its own or with simple breakfast sides.
Serving Suggestions
Serve this casserole with fresh fruit for a bright and refreshing contrast. Berries, melon, or orange slices work especially well.
Add toast, biscuits, croissants, or English muffins for a fuller breakfast spread. Bread sides pair nicely with the savory casserole.
Offer salsa, avocado slices, and hot sauce for a brunch-style topping station. Everyone can customize their own serving.
Pair with yogurt parfaits or smoothies for a balanced breakfast table. This works well for gatherings.
Serve smaller squares alongside pancakes or waffles for a fun holiday breakfast menu.
Use leftovers with a side salad for lunch or a quick breakfast-for-dinner meal later in the week.
Leftovers and Storage
Allow leftovers to cool slightly before storing. Cover the baking dish tightly or transfer portions to airtight containers and refrigerate for up to 4 days.
To reheat, microwave individual portions in short intervals until warmed through. Cover loosely to prevent drying.
For larger portions, reheat covered in a 350°F oven until hot in the center. This helps preserve texture.
You can freeze individual slices wrapped well for up to 2 months. Thaw overnight in the refrigerator before reheating.
Nutrition and Benefits
- Eggs provide protein that helps make breakfast filling and satisfying.
- Potatoes offer comforting energy and pair well with many breakfast ingredients.
- Cheese adds calcium and rich flavor that families enjoy.
- Vegetables like peppers and onions add color and useful nutrients.
- The casserole can be customized with lean meats or extra vegetables.
- Make-ahead convenience makes it practical for busy mornings and gatherings.
Recipe FAQ
Can I make this the night before?
Yes, assemble the casserole, cover, and refrigerate overnight. Bake the next morning as directed.
Can I use fresh potatoes?
Absolutely. Dice and cook them until just tender before adding to the casserole.
Why is my casserole watery?
Extra moisture often comes from frozen hash browns not thawed well or vegetables releasing water. Drain and pat ingredients dry when needed.
Can I make it vegetarian?
Yes, simply skip the meat and add mushrooms, spinach, zucchini, or extra peppers.
How do I know when it is done?
The center should be set and no longer liquid. A knife inserted near the middle should come out mostly clean.
Can I freeze breakfast casserole?
Yes, cool completely and freeze portions well wrapped. Reheat after thawing for best texture.
What cheese works best?
Cheddar is classic, but Monterey Jack, Swiss, Colby, mozzarella, or pepper jack all work nicely.
Conclusion
A Morning Favorite Worth Making Again
This Breakfast Potato Casserole is the kind of dependable recipe that makes mornings feel warm, easy, and special. It uses simple ingredients, easy steps, and delivers hearty comforting results every time.
It is worth making again because it fits holidays, weekend brunches, meal prep, and breakfast-for-dinner nights so naturally. With reliable results, family appeal, and plenty of flexibility, this is a dish everyone will be happy to enjoy again and again.