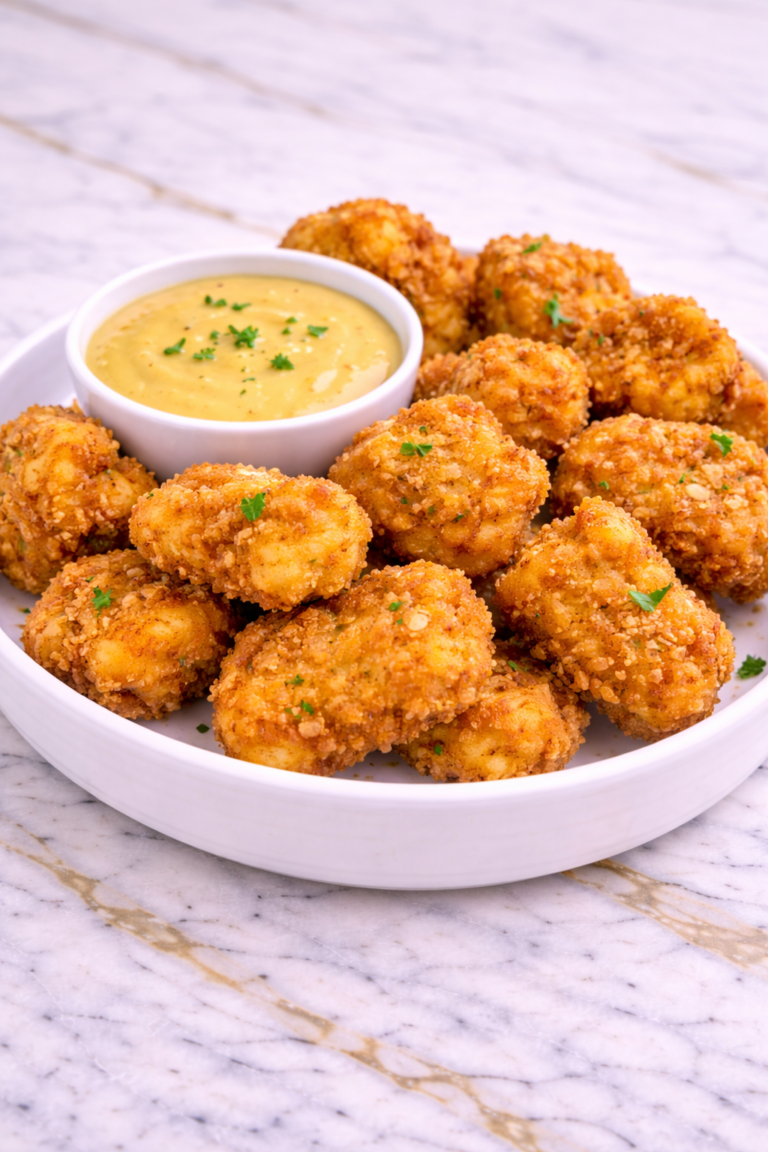
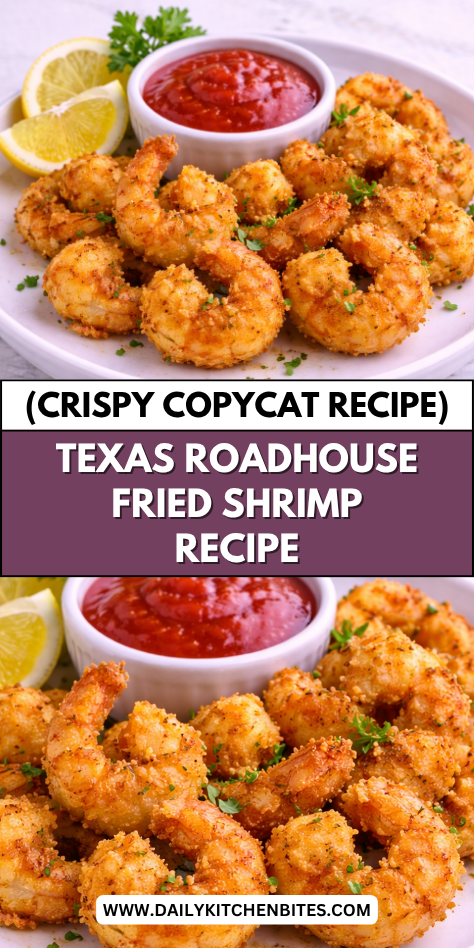
Getting crispy fried shrimp at home can feel intimidating, especially when you’re trying to match that crunchy, seasoned coating from Texas Roadhouse.
A lot of homemade versions turn out soggy or just missing that restaurant flavor. I’ve tested this a few times in my own kitchen and finally nailed the right combination of seasoning and technique.
This post walks you through every step so you get perfectly crispy shrimp every single time. You don’t need a deep fryer or any special equipment to make it work.
Why You’ll Love This Recipe
This fried shrimp recipe delivers the perfect balance of crispy coating and tender seafood. The seasoned breading adds flavor while the shrimp stays juicy inside. Every bite is crunchy and satisfying.
Another reason to love this recipe is how quick it is to prepare. Shrimp cooks fast, making this a great option for busy days or last-minute meals. It’s simple but feels special.
Families love this recipe because it’s fun and versatile. You can serve it with dipping sauces, sides, or even in sandwiches. It’s a crowd-pleasing favorite.
Serves: 4 people
This recipe makes enough for about four servings, depending on portion size. It’s perfect for sharing or serving as part of a larger meal. You can easily adjust the quantity.
Ingredients You’ll Need
- 1 pound large shrimp, peeled and deveined (tails on or off)
- 1 cup all-purpose flour
- 1 cup breadcrumbs (plain or seasoned)
- 2 large eggs
- ½ cup milk
- 1 teaspoon kosher salt
- ½ teaspoon black pepper
- ½ teaspoon paprika
- ½ teaspoon garlic powder
- Vegetable oil, for frying
Pro Tips
Pat the shrimp dry before coating. This helps the breading stick better.
Use a two-step breading process for extra crunch. This creates a thicker coating.
Do not overcrowd the pan while frying. This keeps the oil temperature stable.
Maintain oil temperature around 350°F for best results. Too low can make the shrimp greasy.
Fry in small batches for even cooking. This helps achieve a golden crust.
Serve immediately for the crispiest texture. Fried shrimp is best fresh.
Tools You’ll Need
- Deep skillet or pot
- Tongs or slotted spoon
- Paper towels
- Mixing bowls
- Thermometer (optional)
Substitutions and Variations
You can use panko breadcrumbs for extra crunch. This creates a lighter texture.
For a spicier version, add cayenne pepper or chili powder to the coating. This adds heat.
You can use buttermilk instead of milk for a richer flavor. It also helps tenderize.
For a lighter option, try air frying instead of deep frying. The texture will be slightly different.
Serve with different sauces like cocktail sauce, ranch, or spicy mayo for variety.
Make Ahead Tips
Fried shrimp is best enjoyed fresh, but you can prepare several components ahead of time to make cooking quicker. You can clean, peel, and devein the shrimp up to a day in advance and store them in the refrigerator. Keep them well-covered to maintain freshness.
You can also set up your breading station ahead of time by measuring out the flour, breadcrumbs, and seasonings. This makes the cooking process more efficient. Having everything ready helps you move quickly once you start frying.
If needed, you can bread the shrimp shortly before cooking and keep them chilled for up to 30 minutes. This helps the coating adhere better. However, avoid letting them sit too long, as the coating can become soggy.
Instructions
Step 1: Prepare the Shrimp
Pat the shrimp dry with paper towels to remove excess moisture. This helps the coating stick better. Set aside on a plate.
Step 2: Set Up Breading Station
In one bowl, combine the flour with salt, pepper, paprika, and garlic powder. In a second bowl, whisk together the eggs and milk. In a third bowl, add the breadcrumbs.
Step 3: Coat the Shrimp
Dip each shrimp into the flour mixture, coating evenly. Then dip into the egg mixture, followed by the breadcrumbs. Press lightly to ensure the coating sticks.
Step 4: Heat the Oil
Pour vegetable oil into a deep skillet or pot and heat to about 350°F. Use a thermometer if available. Proper temperature is key for crispy shrimp.
Step 5: Fry the Shrimp
Carefully place the shrimp into the hot oil in small batches. Fry for 2–3 minutes, or until golden brown and cooked through. Avoid overcrowding the pan.
Step 6: Drain the Shrimp
Remove the shrimp with a slotted spoon and place them on a plate lined with paper towels. This helps absorb excess oil. Keep them warm while finishing batches.
Step 7: Repeat as Needed
Continue frying the remaining shrimp in batches. Maintain oil temperature between batches. This ensures consistent results.
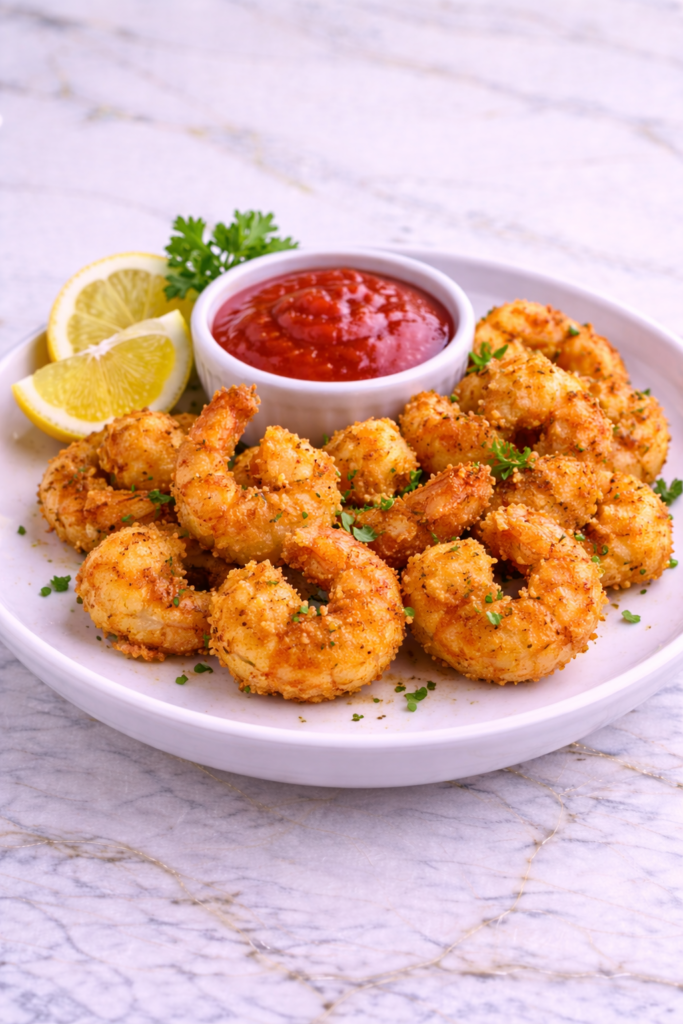
Step 8: Serve Immediately
Transfer the shrimp to a serving platter and serve while hot. Crispy shrimp is best enjoyed right away. Add dipping sauces if desired.
Serving Suggestions
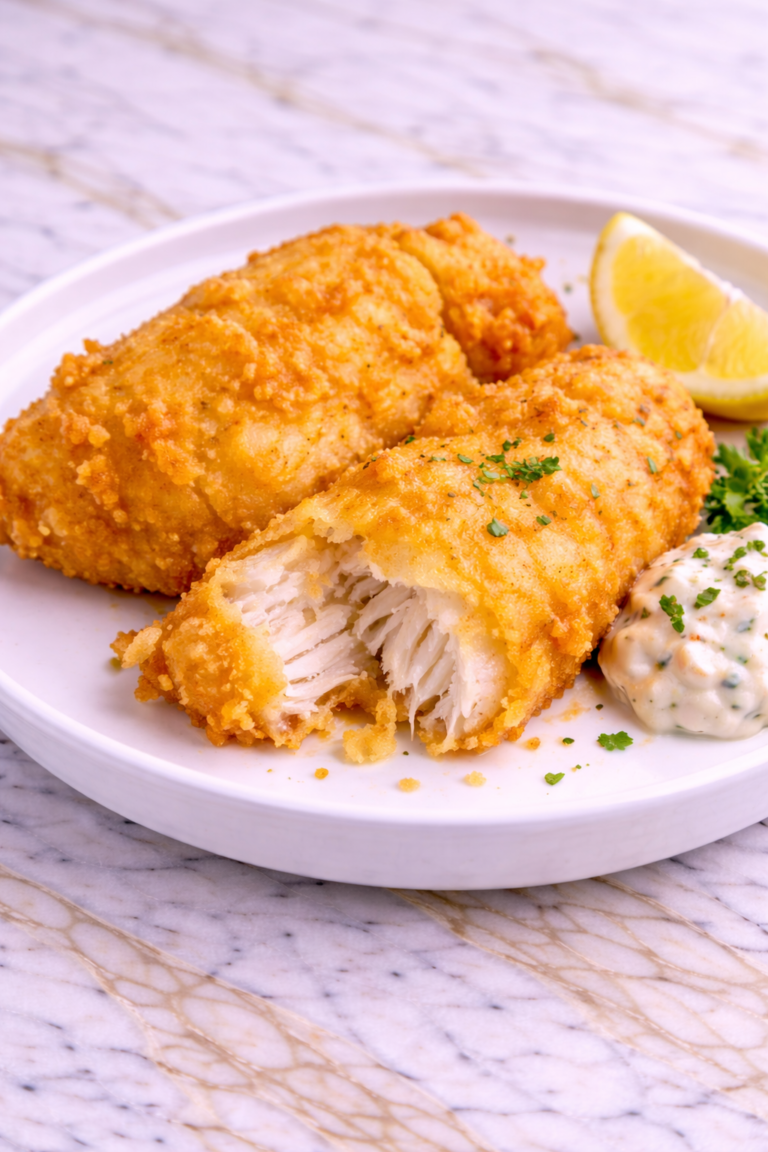
Serve these crispy fried shrimp with classic dipping sauces like cocktail sauce or tartar sauce. The tangy flavors complement the crunchy coating. It’s a classic pairing.
They also pair well with fries or coleslaw for a complete meal. The textures and flavors balance nicely. It creates a satisfying plate.
You can serve them alongside a fresh salad for a lighter option. The crisp vegetables contrast with the fried shrimp. This adds balance.
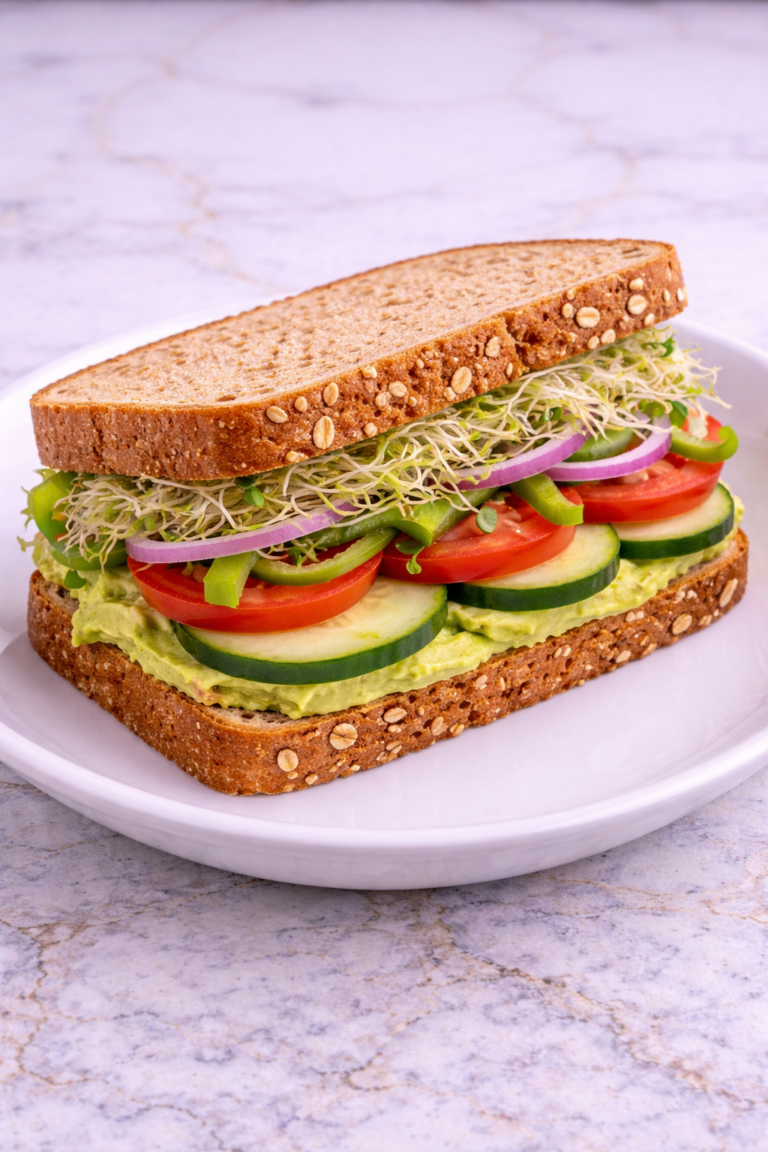
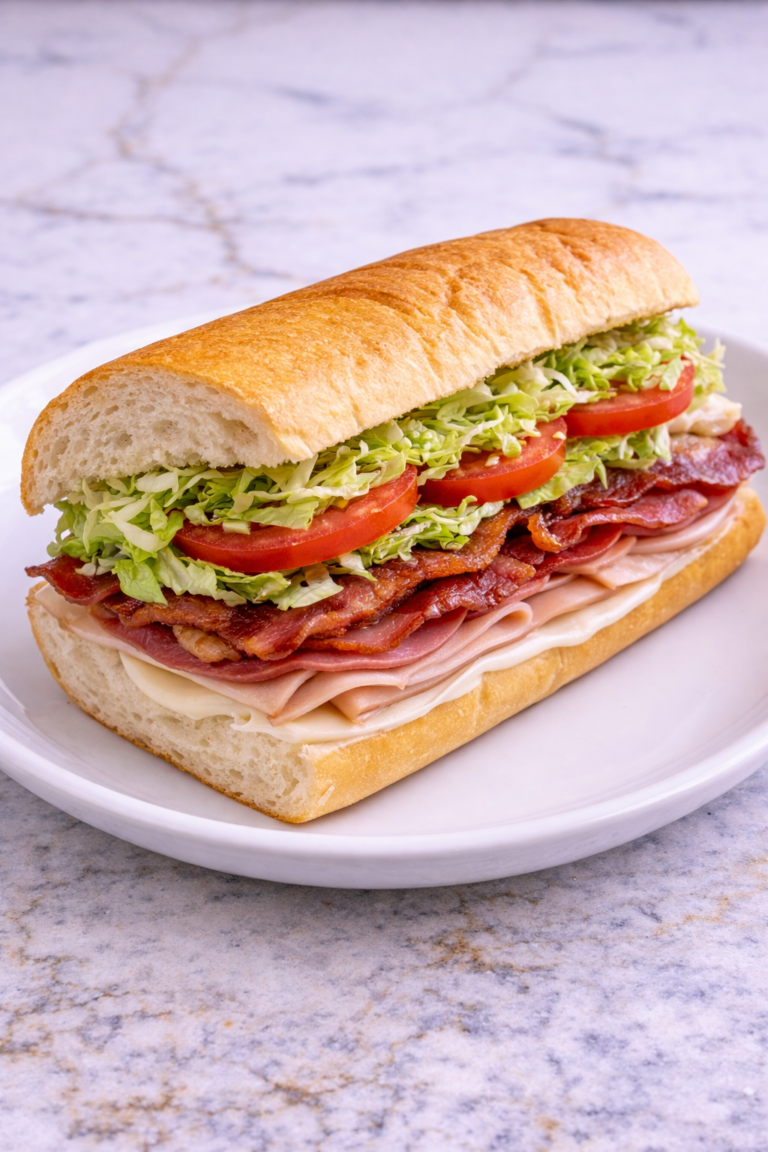
For a fun twist, use the shrimp in tacos or sandwiches. Add lettuce, sauce, and bread for a creative meal. It’s a great way to change things up.
They also work well as an appetizer for gatherings. Serve them on a platter with multiple dipping options. It’s perfect for sharing.
Pair with lemon wedges for a fresh, bright finish. A squeeze of lemon enhances the flavor. It adds a simple but effective touch.
Leftovers and Storage
Fried shrimp is best eaten fresh, but leftovers can be stored if needed. Place them in an airtight container and refrigerate for up to 2 days. Allow them to cool completely before storing.
To reheat, use an oven or air fryer to restore crispiness. Heat at 350°F for a few minutes until warmed through. Avoid microwaving, as it can make them soggy.
If possible, place the shrimp on a wire rack while reheating. This helps keep them crispy on all sides. Proper reheating makes a big difference.
Freezing is not recommended, as the coating can lose its texture. Fresh preparation yields the best results. It’s best to make only what you need.
If the shrimp develops an off smell or texture, discard it. Always prioritize food safety. Proper storage is important.
For best results, enjoy the shrimp immediately after cooking. This ensures maximum crispiness and flavor. Fresh is always best.
Nutrition and Benefits
- Shrimp is a good source of lean protein, helping support muscle health and keeping you full. It’s a nutritious seafood option.
- It also contains important nutrients like selenium and vitamin B12. These support overall health.
- Making fried shrimp at home allows you to control ingredients and oil quality. This can make it a better option than takeout.
- You can adjust the recipe by baking or air frying for a lighter version. This reduces fat content.
- Pairing shrimp with fresh sides like salad or vegetables creates a more balanced meal. Balance is key.
Recipe FAQ
How do I keep the shrimp crispy?
Serve immediately after frying and avoid stacking them. Reheat in the oven or air fryer if needed. This helps maintain texture.
Can I use frozen shrimp?
Yes, just thaw them completely and pat dry before coating. Removing moisture is important. This helps the coating stick.
What oil is best for frying?
Use a neutral oil like vegetable or canola oil. These have a high smoke point. They work well for frying.
Can I make this in an air fryer?
Yes, you can air fry the shrimp at around 400°F for 8–10 minutes. Spray lightly with oil. The texture will be slightly different.
Why is my coating falling off?
This can happen if the shrimp is too wet or not coated properly. Pat dry and press the coating firmly. Follow each step carefully.
Can I add more seasoning?
Yes, you can customize the seasoning blend. Add herbs or spices to your taste. Keep it balanced.
How do I know when the shrimp is done?
Shrimp turns pink and opaque when cooked. The coating should be golden brown. This usually takes just a few minutes.
A Crispy Seafood Favorite Made at Home
Once you make these at home, ordering fried shrimp out will feel unnecessary. The coating comes out crispy, the seasoning is spot on, and the whole batch is ready faster than you’d expect.
They’re great as an appetizer, a side, or even the main dish with some dipping sauce on the side. I love making these on Friday nights when I want something a little indulgent without a lot of fuss.
It’s a simple recipe that always delivers. I hope it becomes a favorite in your kitchen just like it has in mine.