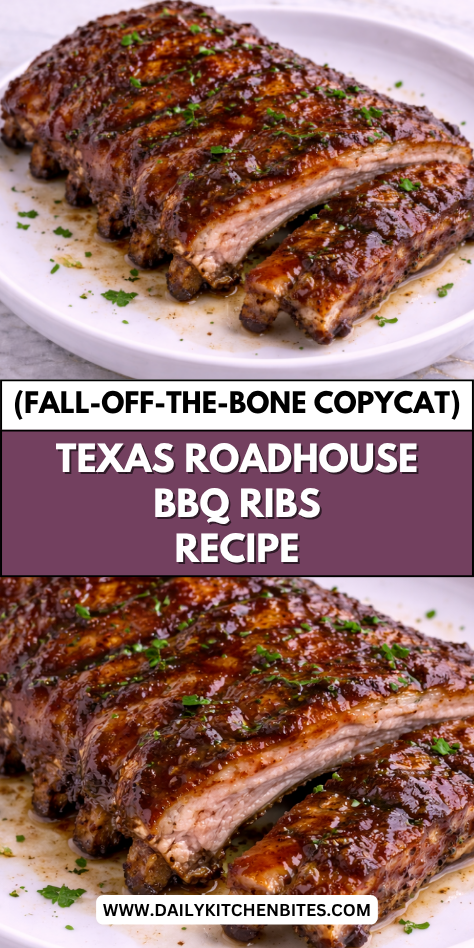
Getting ribs to come out tender and fall off the bone at home is something a lot of home cooks find intimidating. That slow-cooked, smoky, saucy flavor from Texas Roadhouse feels like something only a pitmaster can pull off.
But the truth is, the right method makes it very doable in your own kitchen. I’ve made these at home and the results were better than I expected.
This post walks you through every step so your ribs come out tender, saucy, and full of that rich BBQ flavor.
Why You’ll Love This Recipe
These BBQ ribs are incredibly tender and packed with bold, smoky flavor. The seasoning creates a savory base, while the barbecue sauce adds a sweet and tangy finish. Every bite is juicy and satisfying.
Another reason to love this recipe is that it doesn’t require a smoker to get great results. With a simple oven method and optional finishing step, you can achieve that classic BBQ texture right at home. It’s approachable and reliable.
Families love this recipe because it’s perfect for gatherings and special meals. It’s easy to make in larger batches and always impresses. It’s a dish that brings people together.
Serves: 4–6 people
This recipe makes enough for 2 racks of ribs, serving about four to six people. It’s perfect for family dinners or casual entertaining. You can easily scale it up for larger groups.
Ingredients You’ll Need
- 2 racks baby back ribs (about 4–5 pounds total)
- 2 tablespoons olive oil
Dry Rub
- 1 tablespoon brown sugar
- 1 teaspoon kosher salt
- 1 teaspoon black pepper
- 1 teaspoon paprika
- ½ teaspoon garlic powder
- ½ teaspoon onion powder
- ½ teaspoon chili powder
BBQ Sauce
- 1½ cups barbecue sauce (your favorite brand or homemade)
Pro Tips
Remove the membrane from the back of the ribs before seasoning. This helps improve tenderness.
Apply the dry rub generously and evenly for the best flavor. Press it into the meat.
Cook the ribs low and slow to achieve a tender texture. Patience is key.
Wrap the ribs in foil during cooking to lock in moisture. This helps them stay juicy.
Add the barbecue sauce toward the end of cooking. This prevents burning and creates a better glaze.
Let the ribs rest before serving. This helps retain juices and improves texture.
Tools You’ll Need
- Baking sheet
- Aluminum foil
- Knife
- Tongs
- Basting brush
Substitutions and Variations
You can use spare ribs instead of baby back ribs. They may require slightly longer cooking time.
For a spicier version, add cayenne pepper to the dry rub. This adds heat.
You can use a sugar-free barbecue sauce for a lighter option. This reduces sweetness.
Add a touch of honey or maple syrup to the sauce for extra richness. This enhances flavor.
If you have a grill, you can finish the ribs on the grill for a smoky flavor.
Make Ahead Tips
These ribs are perfect for making ahead, which makes them ideal for gatherings or busy weekends. You can season the ribs with the dry rub up to 24 hours in advance and store them covered in the refrigerator. This allows the flavors to deeply penetrate the meat.
You can also fully cook the ribs ahead of time and refrigerate them for up to 2 days. When ready to serve, simply reheat and finish with barbecue sauce in the oven or on the grill. This helps save time while still delivering great flavor.
If you’re planning for a larger crowd, you can cook multiple racks in advance and reheat them just before serving. This makes entertaining much easier. Proper planning ensures consistent results.
Instructions
Step 1: Prepare the Ribs
Preheat your oven to 300°F. Remove the membrane from the back of the ribs by loosening it with a knife and pulling it off. Pat the ribs dry with paper towels.
Step 2: Season the Ribs
Rub the ribs with olive oil on both sides. In a small bowl, mix all the dry rub ingredients. Coat the ribs evenly, pressing the seasoning into the meat.
Step 3: Wrap the Ribs
Place each rack of ribs on a large piece of aluminum foil. Wrap them tightly to seal in moisture. Place them on a baking sheet.
Step 4: Bake Low and Slow
Bake the ribs in the preheated oven for 2½ to 3 hours. The ribs should become tender and nearly falling off the bone. Avoid opening the foil during cooking.
Step 5: Unwrap and Prepare for Sauce
Carefully remove the ribs from the oven and open the foil. Transfer the ribs to a clean baking sheet. Be cautious of hot steam.
Step 6: Add BBQ Sauce
Brush a generous layer of barbecue sauce over the ribs. Make sure they are evenly coated. This adds flavor and creates a glaze.
Step 7: Finish in Oven or Grill
Increase oven temperature to 400°F or place ribs on a preheated grill. Cook for 10–15 minutes, allowing the sauce to caramelize. Watch closely to prevent burning.
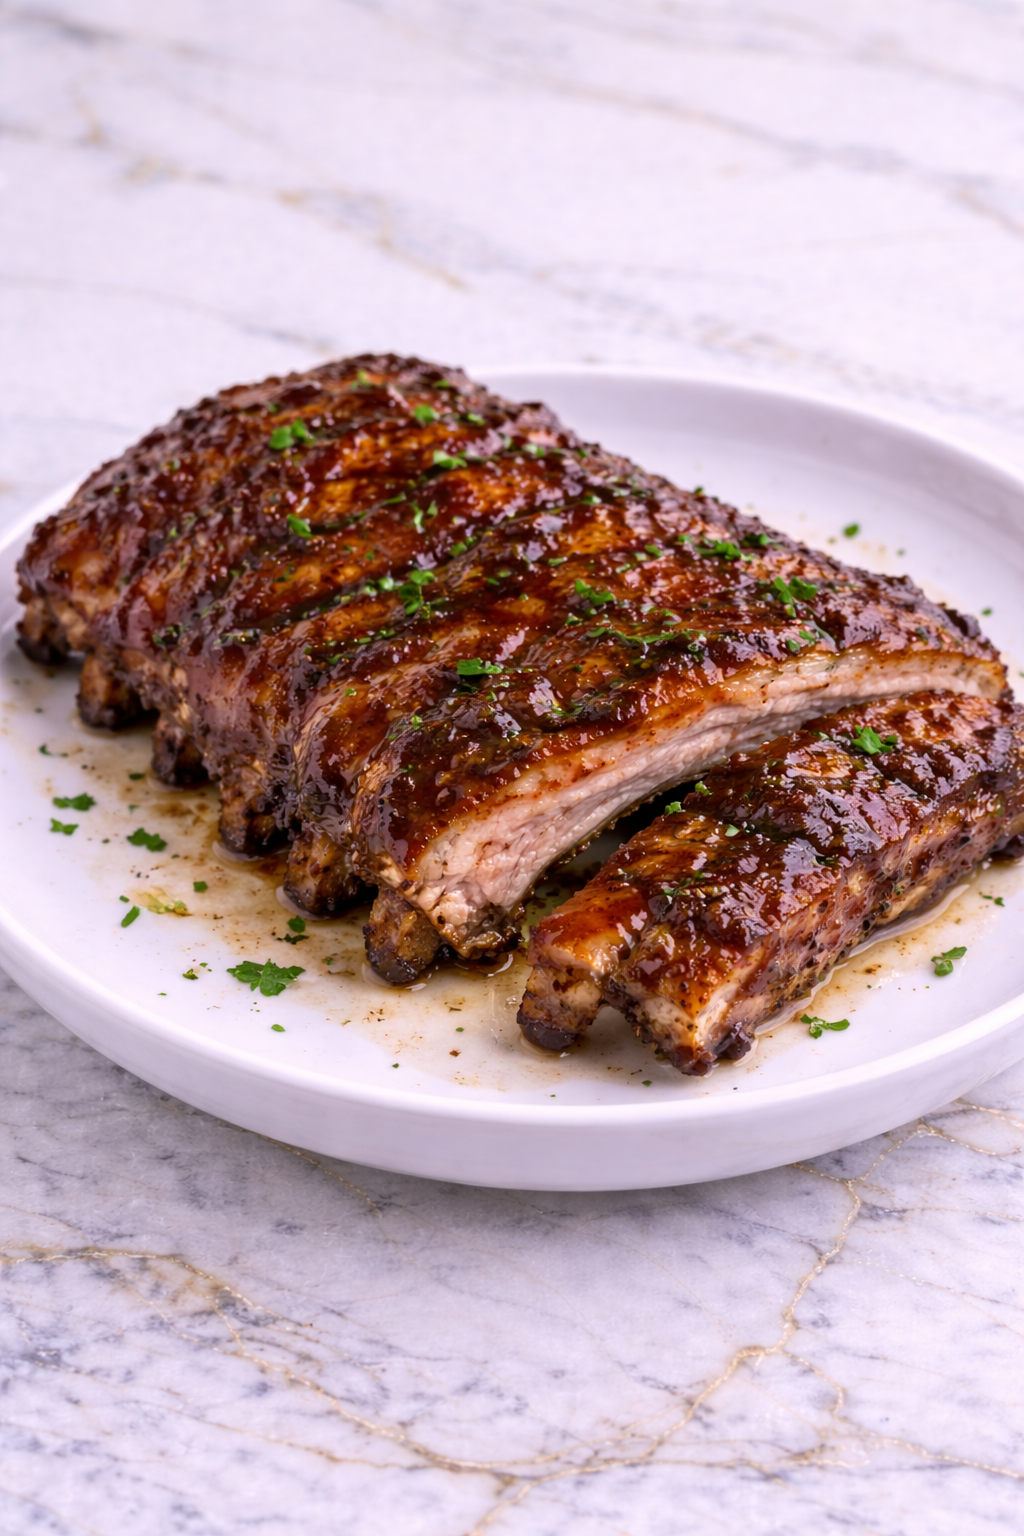
Step 8: Rest and Serve
Remove the ribs from heat and let them rest for about 5–10 minutes. This helps retain juices. Slice between the bones and serve warm.
Serving Suggestions
These BBQ ribs pair perfectly with classic sides like mashed potatoes or baked potatoes. The creamy texture complements the rich, smoky flavor. It creates a comforting meal.
Serve them with coleslaw for a refreshing contrast. The crisp texture balances the tenderness of the ribs. It adds variety to the plate.
Corn on the cob or seasoned corn makes an excellent addition. The sweetness pairs well with the savory ribs. It’s a classic combination.
You can also serve them with baked beans for a hearty meal. The flavors work well together. It’s perfect for casual dinners.
Add dinner rolls or garlic bread to complete the meal. These help soak up the sauce. It makes the meal more satisfying.
For gatherings, serve the ribs on a large platter with extra sauce on the side. This makes sharing easy. It’s great for entertaining.
Leftovers and Storage
Store leftover ribs in an airtight container in the refrigerator for up to 3–4 days. Allow them to cool completely before storing. Proper storage helps maintain quality.
To reheat, wrap the ribs in foil and warm them in the oven at 300°F until heated through. Add extra barbecue sauce to keep them moist. This helps prevent drying out.
You can also reheat them on the grill for added flavor. Keep the heat low and monitor closely. This helps retain texture.
Freezing is possible for up to 2 months. Wrap the ribs tightly in foil and place them in a freezer-safe bag. Thaw in the refrigerator before reheating.
Keep in mind that the texture may change slightly after freezing. Adding sauce during reheating helps restore moisture. Proper handling is important.
If the ribs develop an off smell or texture, discard them. Always prioritize food safety. Freshness is key.
Nutrition and Benefits
- Ribs provide a good source of protein, helping support muscle growth and repair. They are a hearty and satisfying option.
- Cooking at home allows you to control ingredients like salt and sugar. This helps create a more balanced dish.
- You can adjust the recipe by using less sauce or a lower-sugar option. Small changes can improve nutrition.
- Pairing ribs with vegetables like corn or coleslaw adds fiber and nutrients. This helps balance the meal.
- Enjoying this dish in moderation as part of a balanced diet can be both satisfying and enjoyable. Balance is key.
Recipe FAQ
How do I know when the ribs are done?
The meat should be tender and easily pull away from the bone. You can also use a thermometer to check for around 190–203°F. This indicates doneness.
Do I have to remove the membrane?
Yes, removing the membrane helps improve tenderness. It allows seasoning to penetrate better. It’s an important step.
Can I cook these on the grill only?
Yes, but you’ll need to use indirect heat and cook them slowly. This takes longer but adds smoky flavor. Monitor carefully.
What’s the best barbecue sauce to use?
Use your favorite brand or homemade sauce. Sweet, smoky, or spicy all work well. Choose based on preference.
Can I make these ribs spicier?
Yes, add cayenne pepper or hot sauce to the rub or sauce. This increases heat. Adjust to your taste.
Can I cook them faster?
Low and slow cooking is best for tender ribs. Cooking too quickly can make them tough. Patience is important.
Can I use a different cut of ribs?
Yes, spare ribs or St. Louis-style ribs work well. Adjust cooking time as needed. Each cut has a slightly different texture.
A BBQ Classic Worth Every Bite
Once you make these at home, they’ll be the first thing people request at every gathering. The meat comes out tender, the sauce is rich and smoky, and the whole process is more straightforward than most people expect.
I love making these on weekends when I have a little extra time and want something that really impresses without a ton of complicated steps. They pair perfectly with any classic side and always make the table feel like a real cookout.
Good ribs are worth the wait. I hope these become a staple in your kitchen just like they have in mine.