I’m about to share something that’ll make your kitchen smell like pure heaven – a vanilla dream cake that’s so ridiculously simple, even my disaster-prone cooking days can’t mess it up.
You know that moment when you bite into cake and it actually melts on your tongue instead of sitting there like sweet cardboard?
That’s exactly what we’re making here, and trust me, once you see how effortless this recipe really is, you’ll wonder why you ever bothered with anything else.
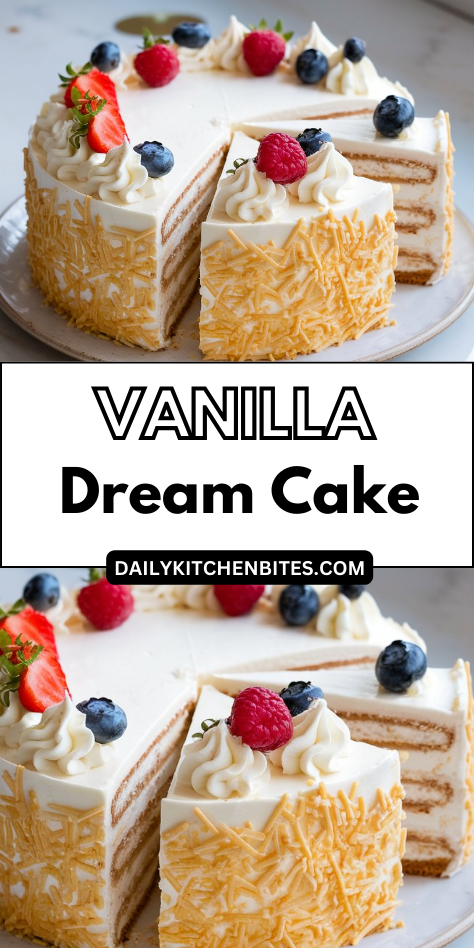
Why You’ll Love this Vanilla Dream Cake
When I tell you this cake will become your go-to dessert, I’m not just blowing vanilla-scented smoke.
This recipe delivers what most vanilla cakes promise but rarely achieve: deep, complex vanilla flavor that doesn’t taste like sugar wearing a vanilla costume.
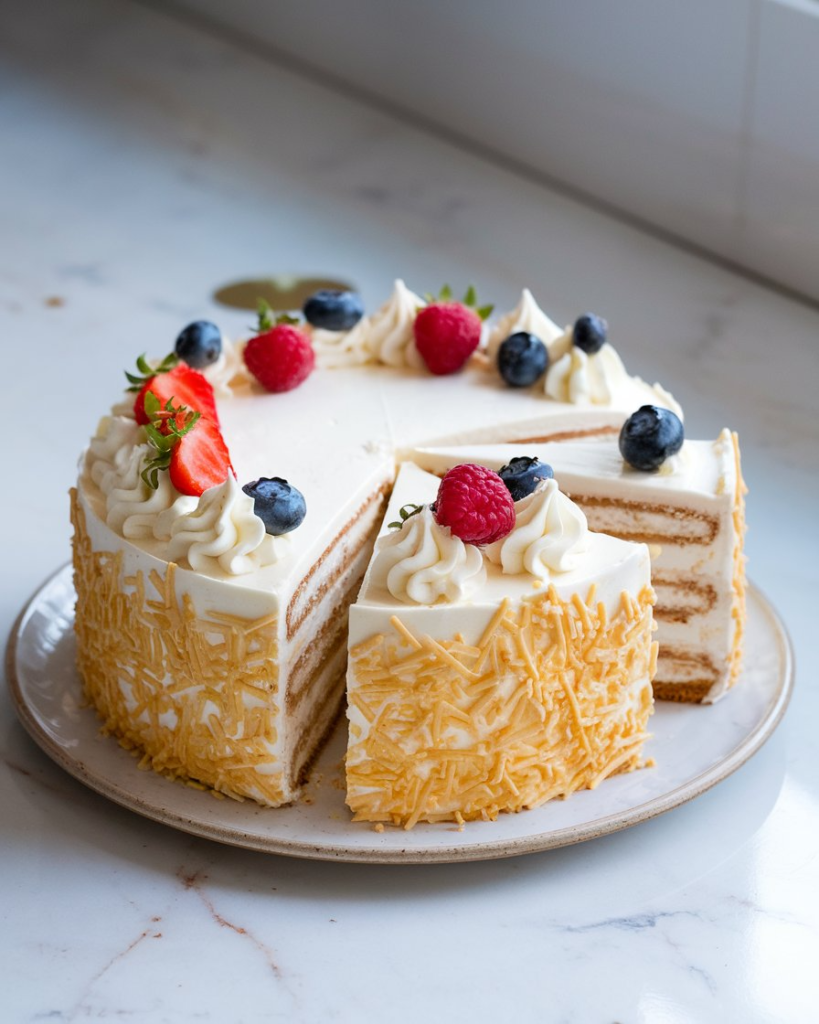
The texture? Cloud-like, moist perfection that won’t crumble when you cut it. I’m talking about a cake that makes people ask for seconds, then thirds.
The secret lies in using both vanilla extract and real vanilla bean seeds. Plus, it’s surprisingly forgiving if you’re the type who accidentally adds salt twice.
What Ingredients are in Vanilla Dream Cake?
Let me break down everything you’ll need to create this vanilla masterpiece that’ll have your kitchen smelling like a bakery.
For the Cake:
- 2¼ cups all-purpose flour
- 2 teaspoons baking powder
- 2 teaspoons baking soda
- ½ teaspoon salt
- 2 cups water
- 2 cups sugar
- 6 tablespoons unsalted butter
- 2 tablespoons vegetable oil
- 1 tablespoon vanilla extract
- 1 vanilla bean, scraped
- 2 large eggs
For the Frosting:
- 1 cup butter
- 4 cups powdered sugar
- 1 tablespoon vanilla extract
- 2-3 tablespoons heavy cream
The vanilla bean might seem like a fancy addition that you could skip, but trust me on this one – it’s the difference between a cake that tastes like vanilla and a cake that tastes like vanilla’s sophisticated cousin who studied abroad.
How to Make this Vanilla Dream Cake
Step 1
Start by cranking that oven to 350°F and buttering two 8-inch round pans like your life depends on it. I’m talking about a proper butter massage here, folks – those pans should be so well-greased that the cake practically slides out on its own later. Having quality premium kitchen cookware makes all the difference in achieving perfectly even baking and easy cake release.
Step 2: Whisk Together the Dry Team
In a medium bowl, whisk together your 2¼ cups all-purpose flour, 2 teaspoons baking powder, 2 teaspoons baking soda, and ½ teaspoon salt. This is your dry ingredient dream team, and they need to be thoroughly mixed before they meet their wet counterparts.
Step 3: Create the Magic Syrup Base
Heat up 2 cups water, 2 cups sugar, and 6 tablespoons unsalted butter in a saucepan until it reaches a gentle simmer.
Once it’s bubbling happily, remove it from heat and let it chill completely – and I mean completely, because hot liquid plus eggs equals scrambled egg cake, which sounds way less appealing than it probably tastes.
Step 4: Build Your Wet Ingredient Foundation
Once your sugar mixture is properly chilled, whisk in 2 tablespoons vegetable oil, 1 tablespoon vanilla extract, those precious vanilla bean scrapings, and 2 large eggs.
This is where the magic happens, where ordinary ingredients transform into something that smells like heaven decided to take a bath in your kitchen.
Step 5: Marry the Wet and Dry Ingredients
Gently fold your dry ingredient mixture into the wet ingredients until just combined.
Don’t overthink this step – we’re going for “just married” not “been together for 20 years and know each other’s every move.”
Step 6: Divide and Conquer in the Oven
Split your batter evenly between your prepared pans because nobody likes a lopsided cake, trust me on this one.
Bake for 25-30 minutes, or until a toothpick inserted in the center comes out clean – this is the universal cake language for “I’m done, please take me out now.”
Step 7: Cool and Create Frosting Perfection
Let those beauties cool completely while you cream together 1 cup butter, 4 cups powdered sugar, 1 tablespoon vanilla extract, and 2-3 tablespoons heavy cream until it’s fluffy enough to make clouds jealous.
Once your cakes are cool, frost them like you’re painting the Sistine Chapel, but with way more sugar and notably less neck strain.
What to Serve with Vanilla Dream Cake
This dreamy vanilla masterpiece deserves companions that won’t steal its thunder but will absolutely make it shine brighter.
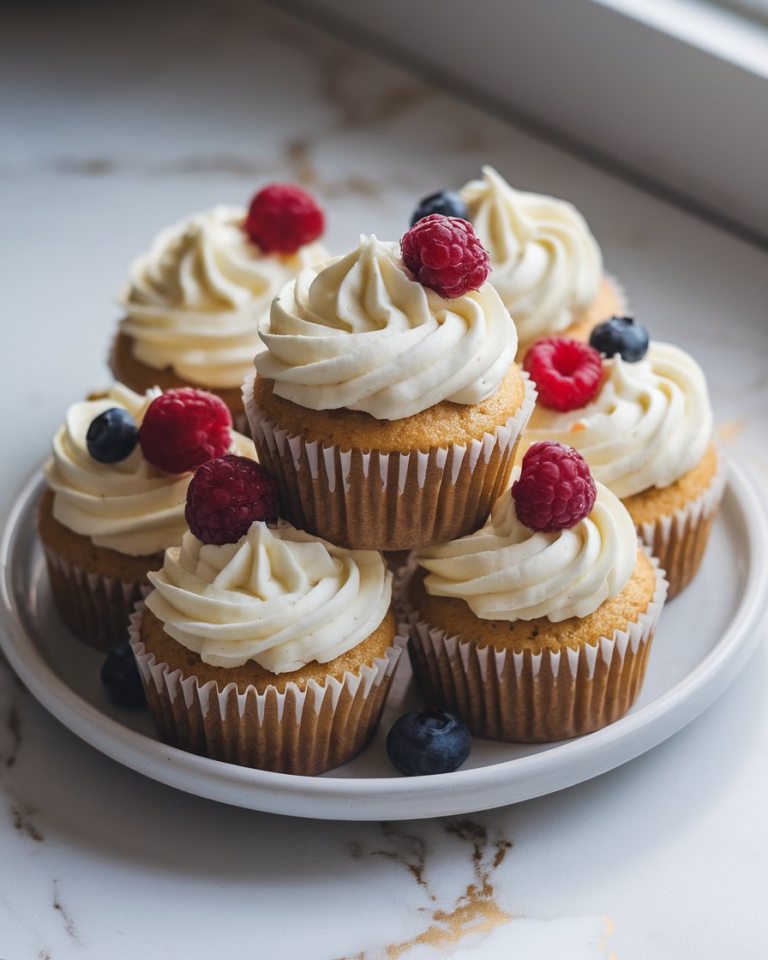
Fresh berries are your best friend here – strawberries, raspberries, or blueberries add that perfect tart contrast to all that sweet, creamy goodness. A scoop of vanilla bean ice cream basically turns this into a restaurant-quality dessert, while a hot cup of coffee or Earl Grey tea makes it the perfect afternoon treat.
For something unexpected, try a light raspberry coulis drizzled on the plate, or go completely indulgent with a glass of cold milk that’ll transport you straight back to childhood.
This cake works beautifully for birthday celebrations, weekend brunches, or those random Tuesday nights when you need something special.
Vanilla Dream Cake Substitutions and Variations
When life throws you curveballs in the kitchen – like you’re missing vanilla extract or your butter’s rock solid – this cake recipe rolls with the punches better than most.
I can swap that vanilla extract for almond extract, using half the amount since it’s stronger. No vanilla bean? Skip it entirely. The cake survives.
For frosting emergencies, I’ll soften butter in the microwave using ten-second bursts.
Want chocolate? I substitute ¼ cup cocoa powder for equal flour.
Lemon version? Replace vanilla with lemon zest and juice.
This recipe adapts to whatever’s lurking in your pantry.
Leftovers and Storage for this Vanilla Dream Cake
After I finish the last crumb of this vanilla dream cake – which honestly doesn’t take long because it’s that good – I’m left wondering how to keep any remaining slices as perfect as day one.
I wrap individual pieces in plastic wrap, then slide them into airtight containers. The fridge keeps them fresh for five days, though who are we kidding? They’re gone by day two.
For longer storage, I freeze wrapped slices for up to three months. The frosting might lose some fluffiness, but the cake stays moist and delicious.
Final Thoughts for Vanilla Dream Cake
There’s something magical about a cake that delivers pure vanilla bliss without any fancy tricks or exotic ingredients.
This vanilla dream cake proves that sometimes the most comforting desserts are built on simple foundations – real vanilla, tender crumb, and that perfect balance of sweetness.
Whether you’re celebrating a birthday, bringing dessert to a potluck, or just treating yourself on a random Tuesday, this recipe feels like a warm hug in cake form.
Every bite reminds you that the best things in life don’t need to be complicated, just made with a little love.